Printmaking Process
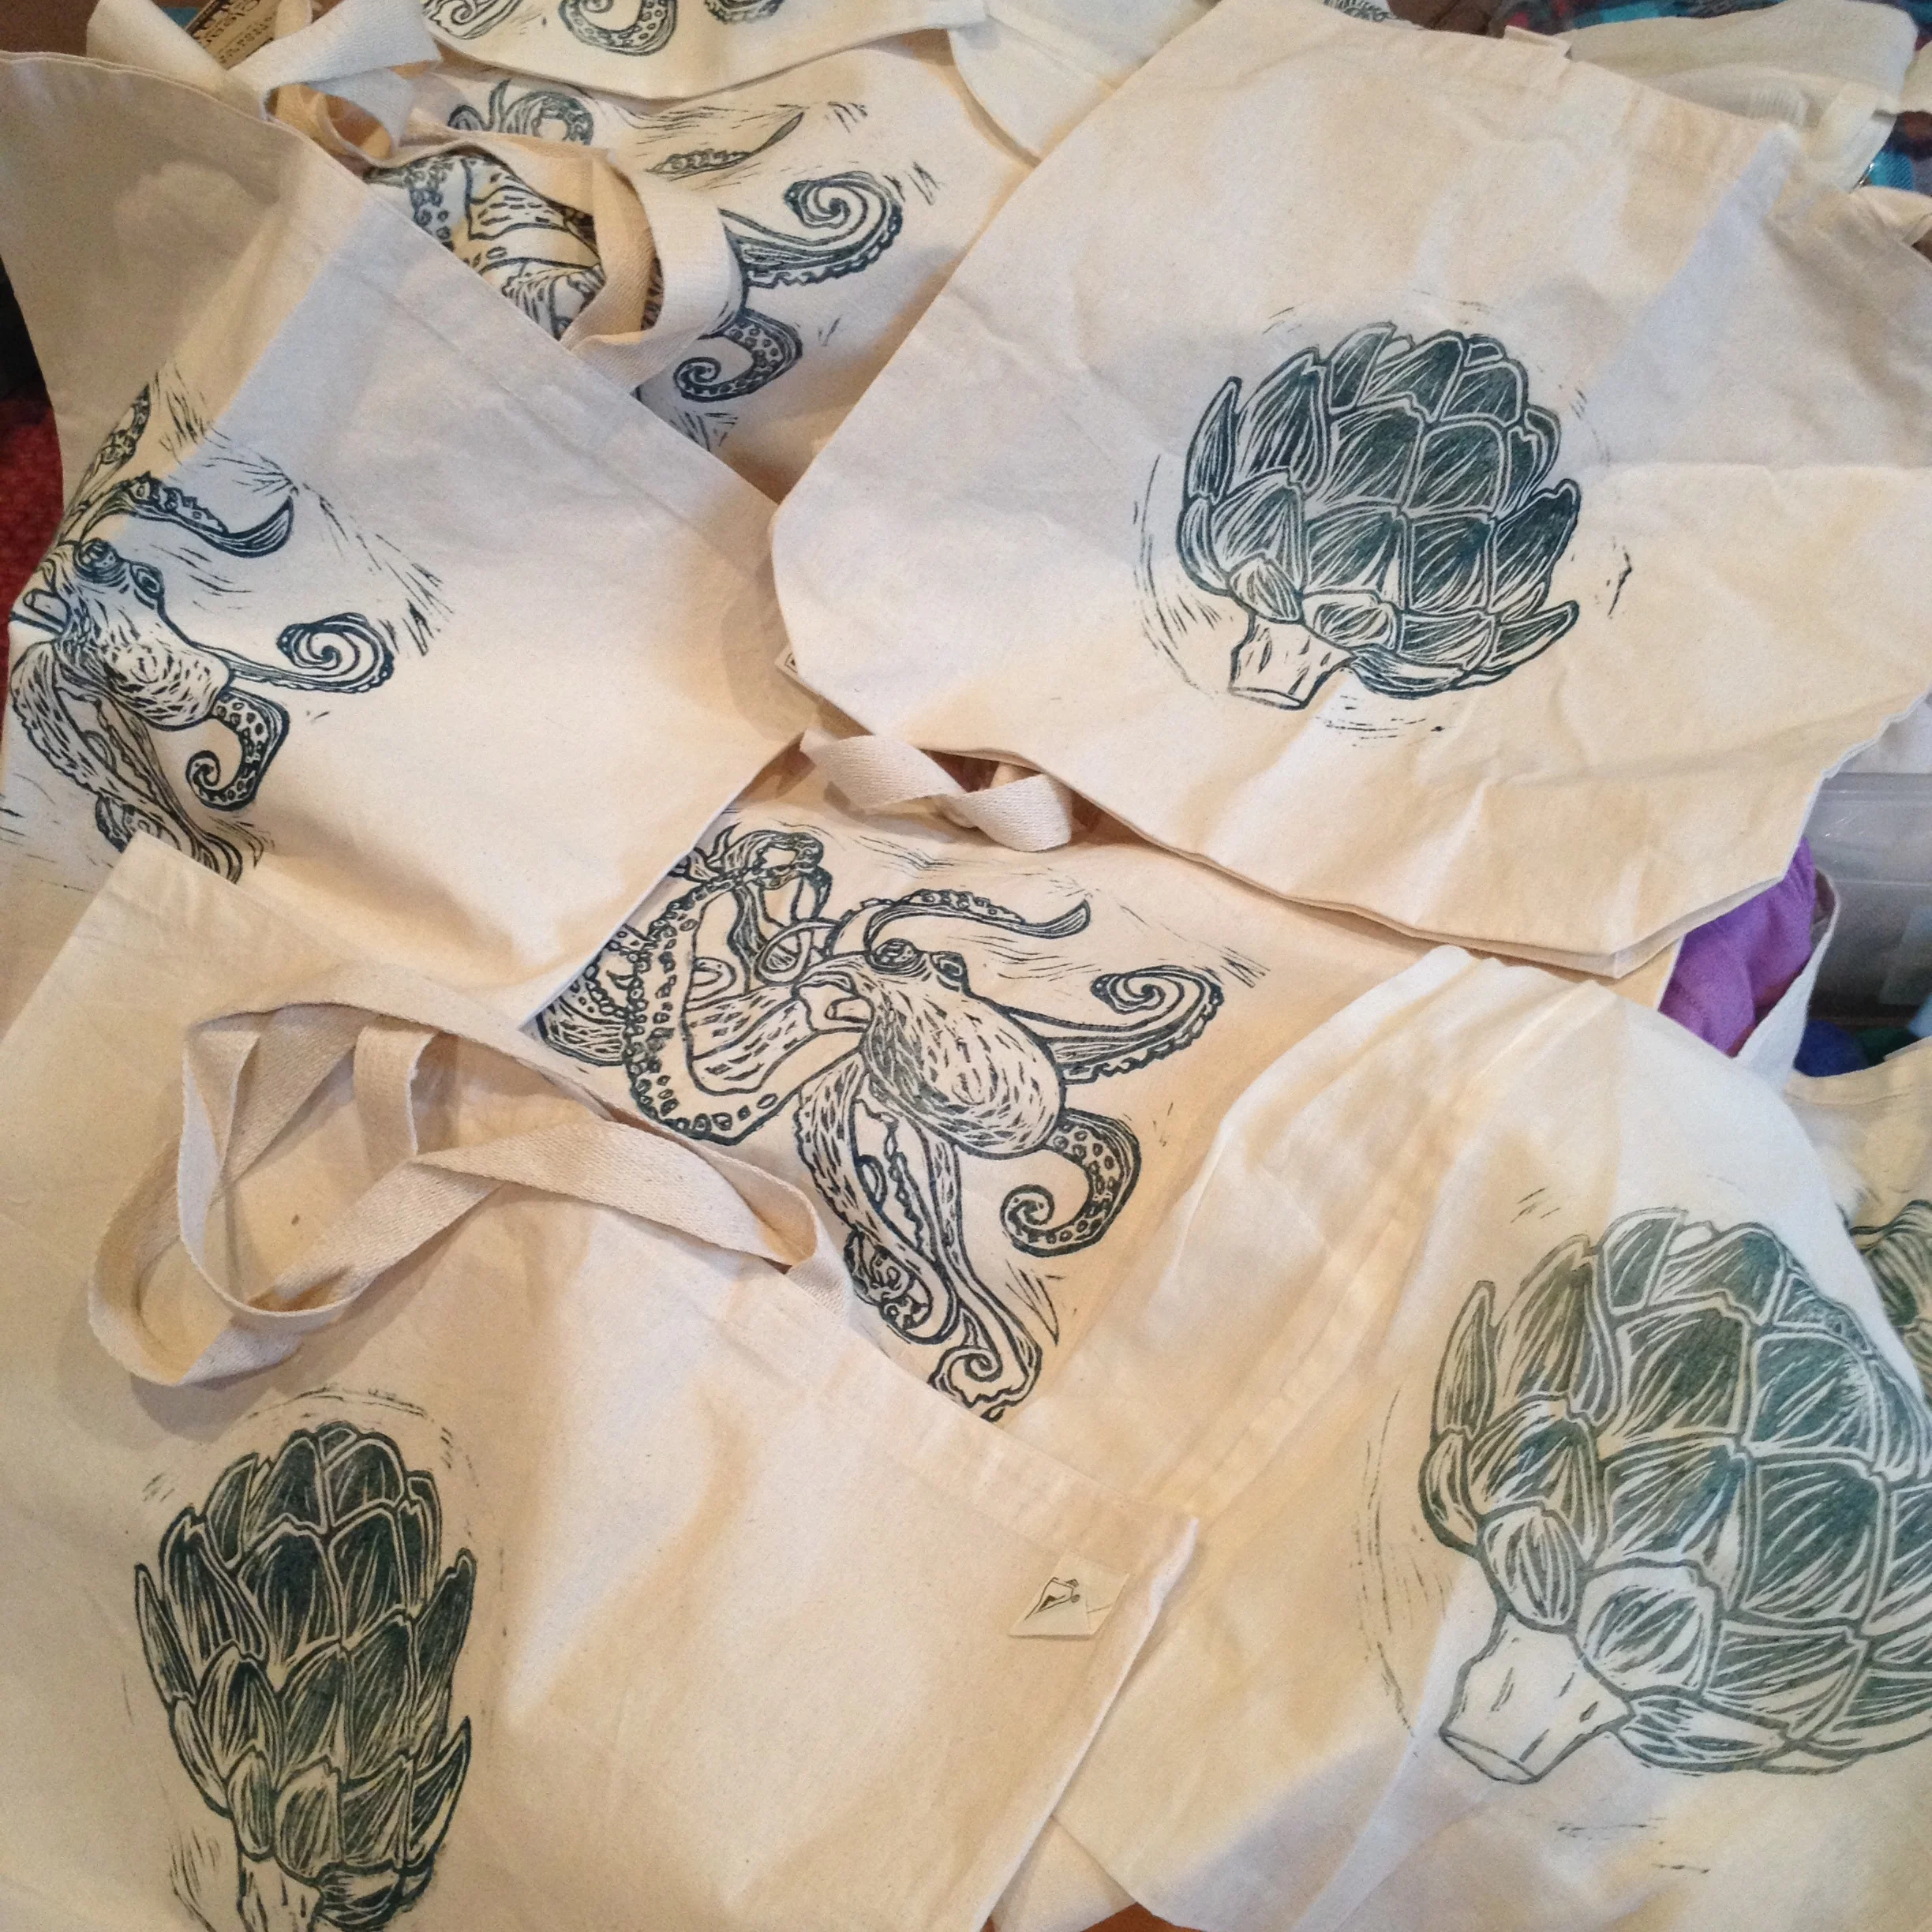
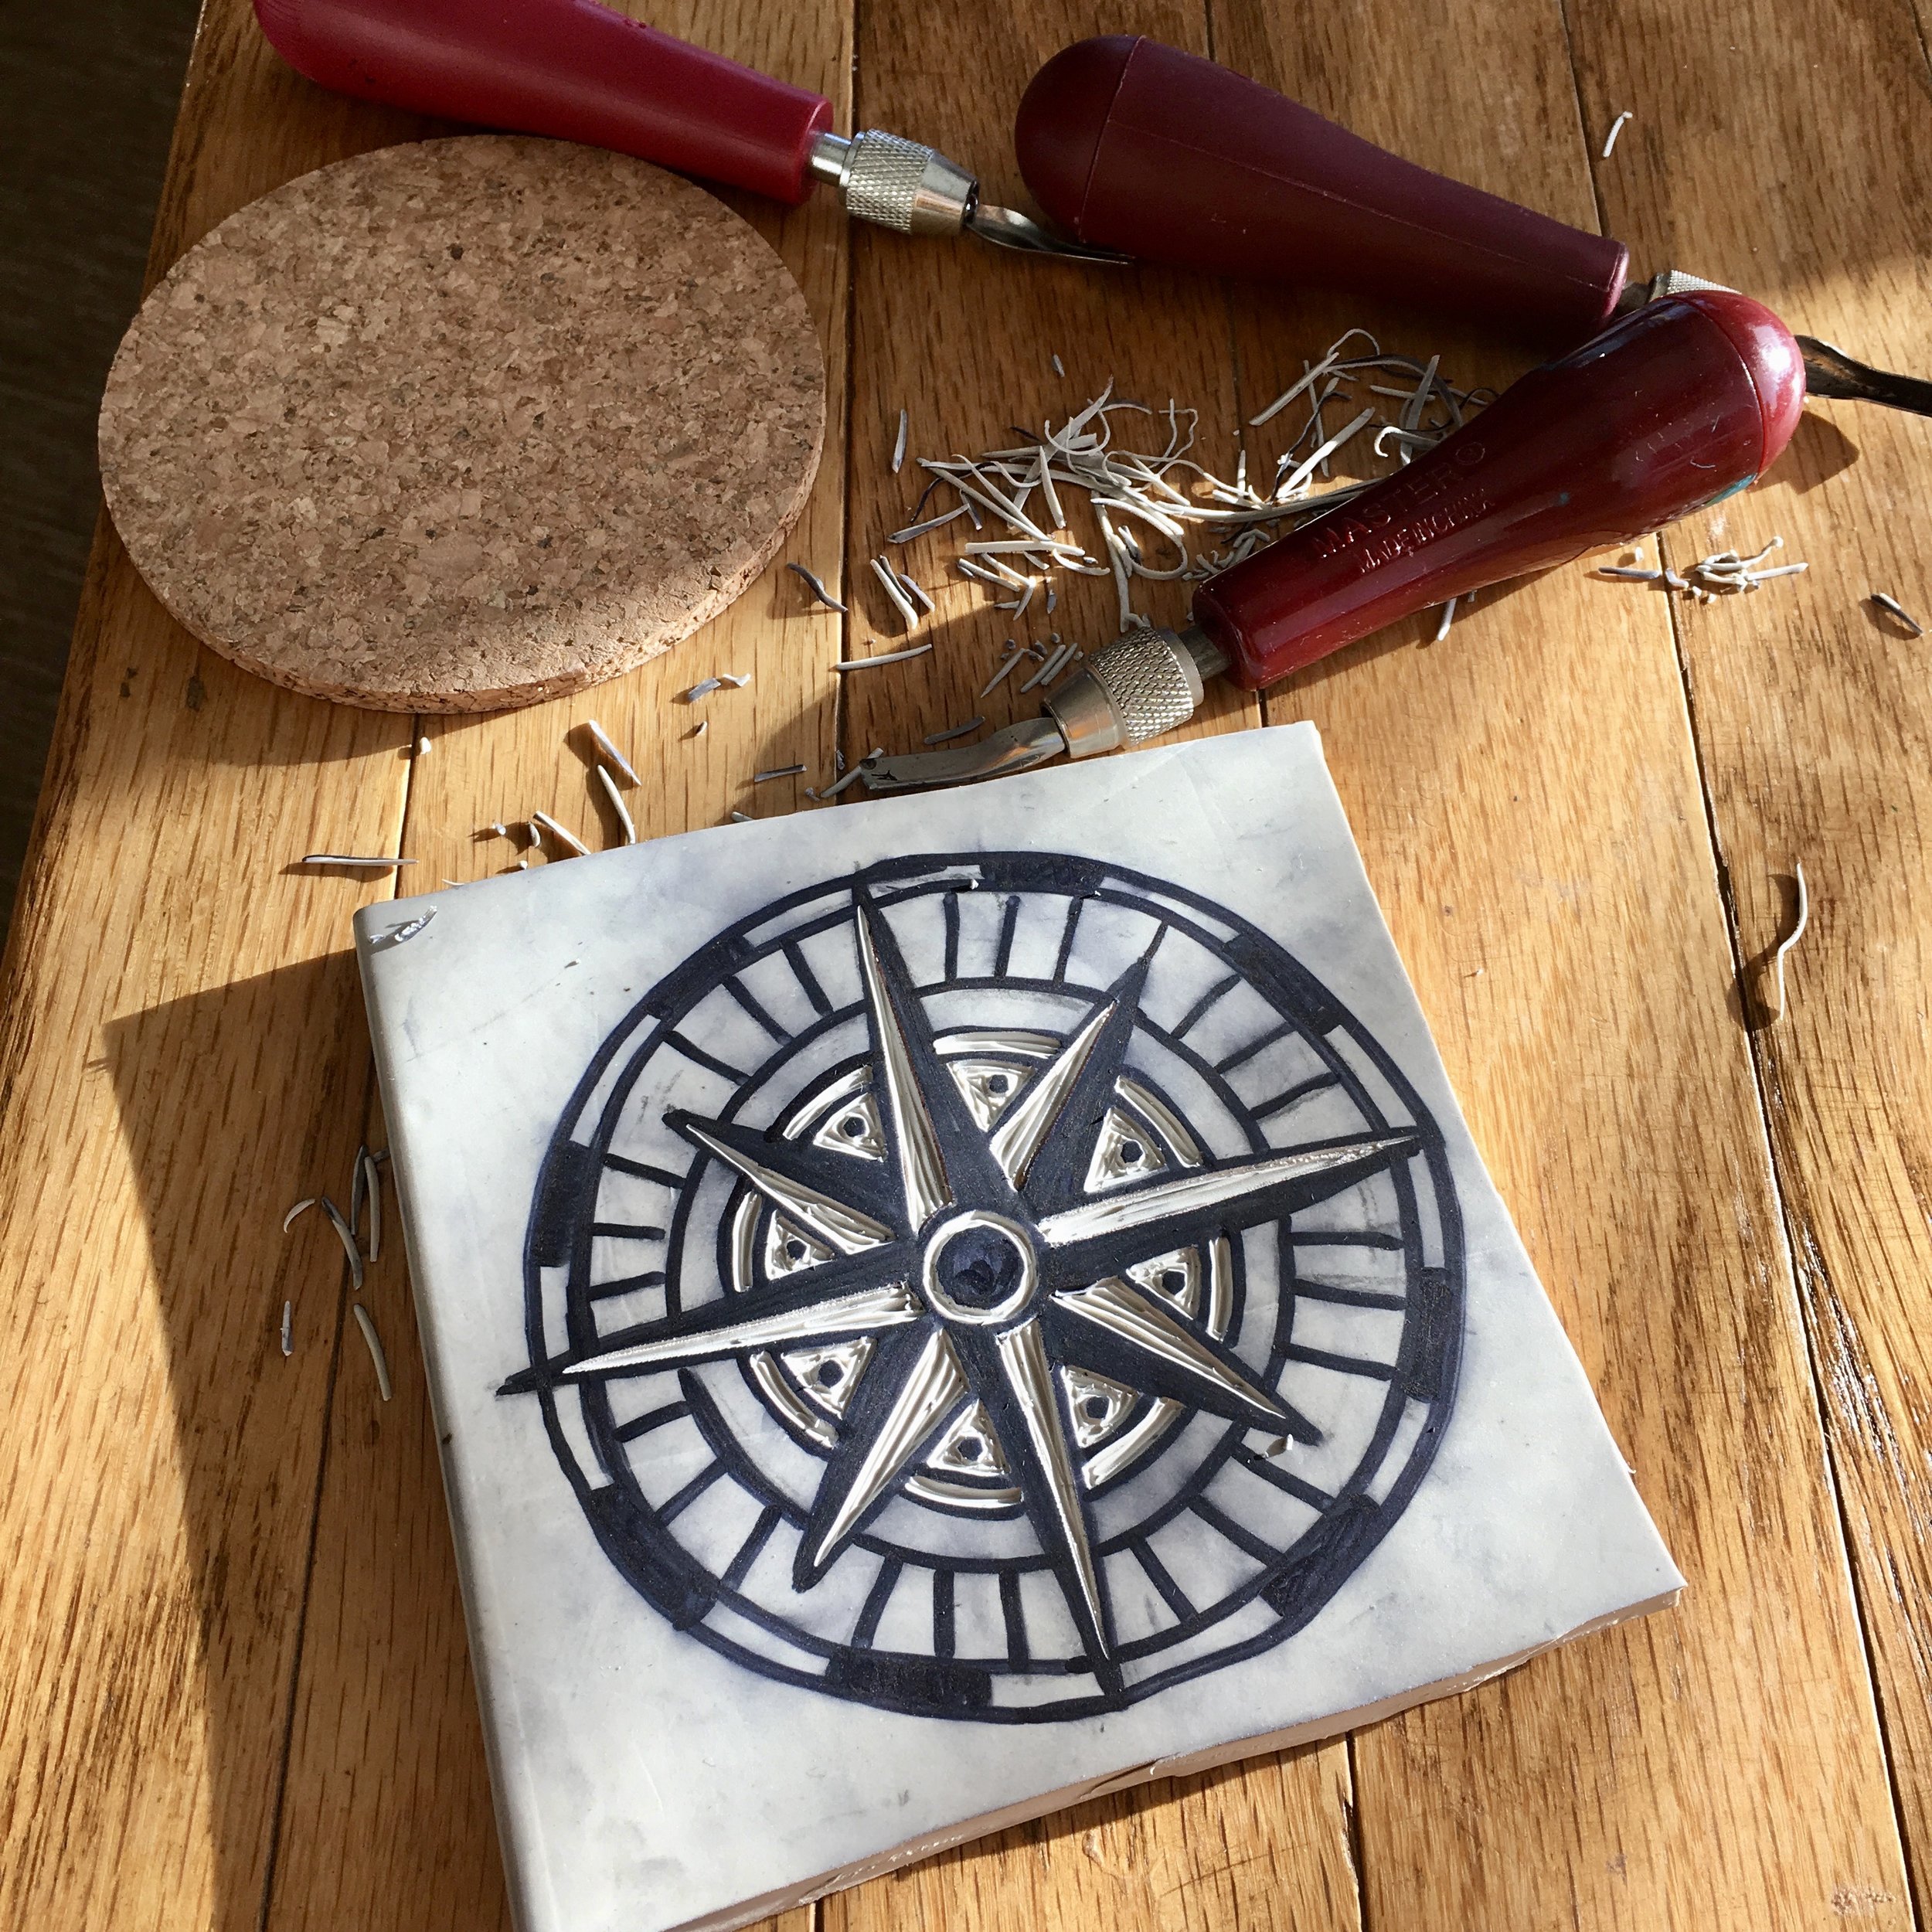
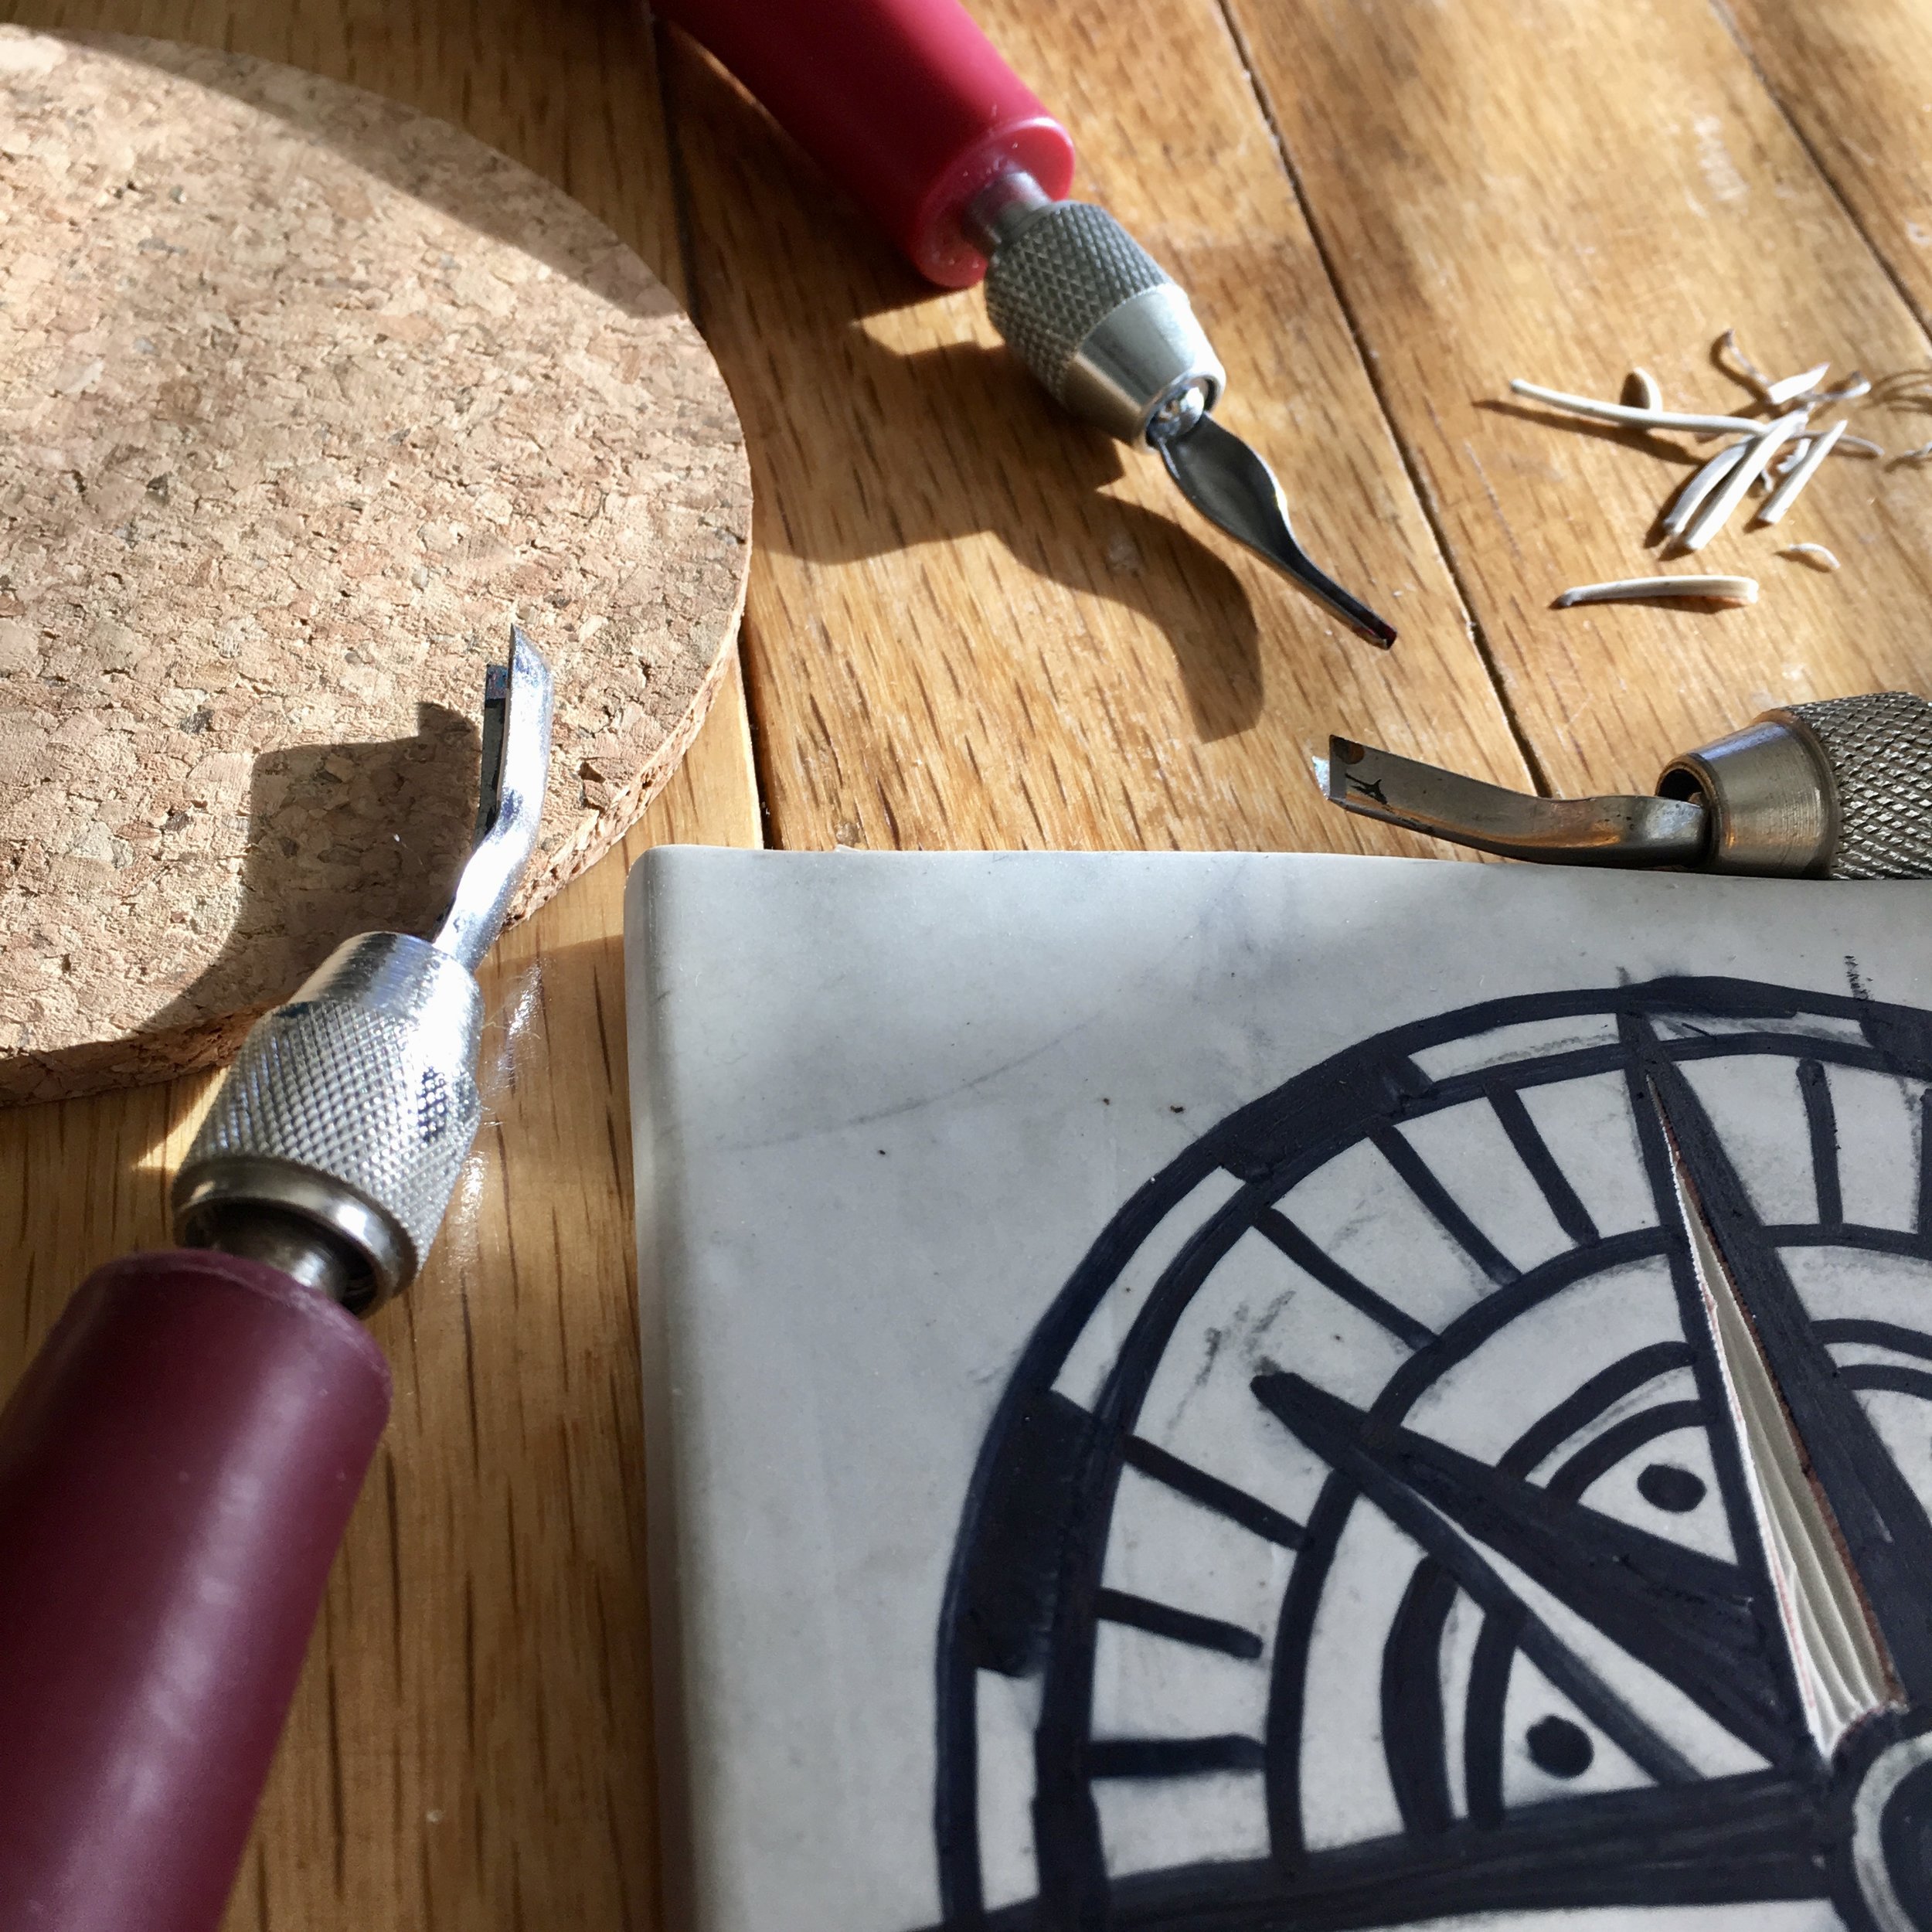
The process of linocut printmaking begins with a preliminary sketch on paper. Before this drawing is transferred to a piece of linoleum, the positive and negative spaces must be distinguished: the ares that remain versus the areas that need to be carved away. Once this decision has been finalized and the image is superimposed onto a linoleum block, the fun part begins. I set to work carving away the gray, negative space with a gouging tool, using various widths of blades depending on the level of detail I am seeking to create.
Finally, the printmaking process entails a specialized ink rolled onto the carved block with an roller/ brayer. A unique print is then created by pressing a surface against this block by hand or using a small printing press. In each image, the elevated areas remain, creating a beautiful, one-of-a-kind relief print.

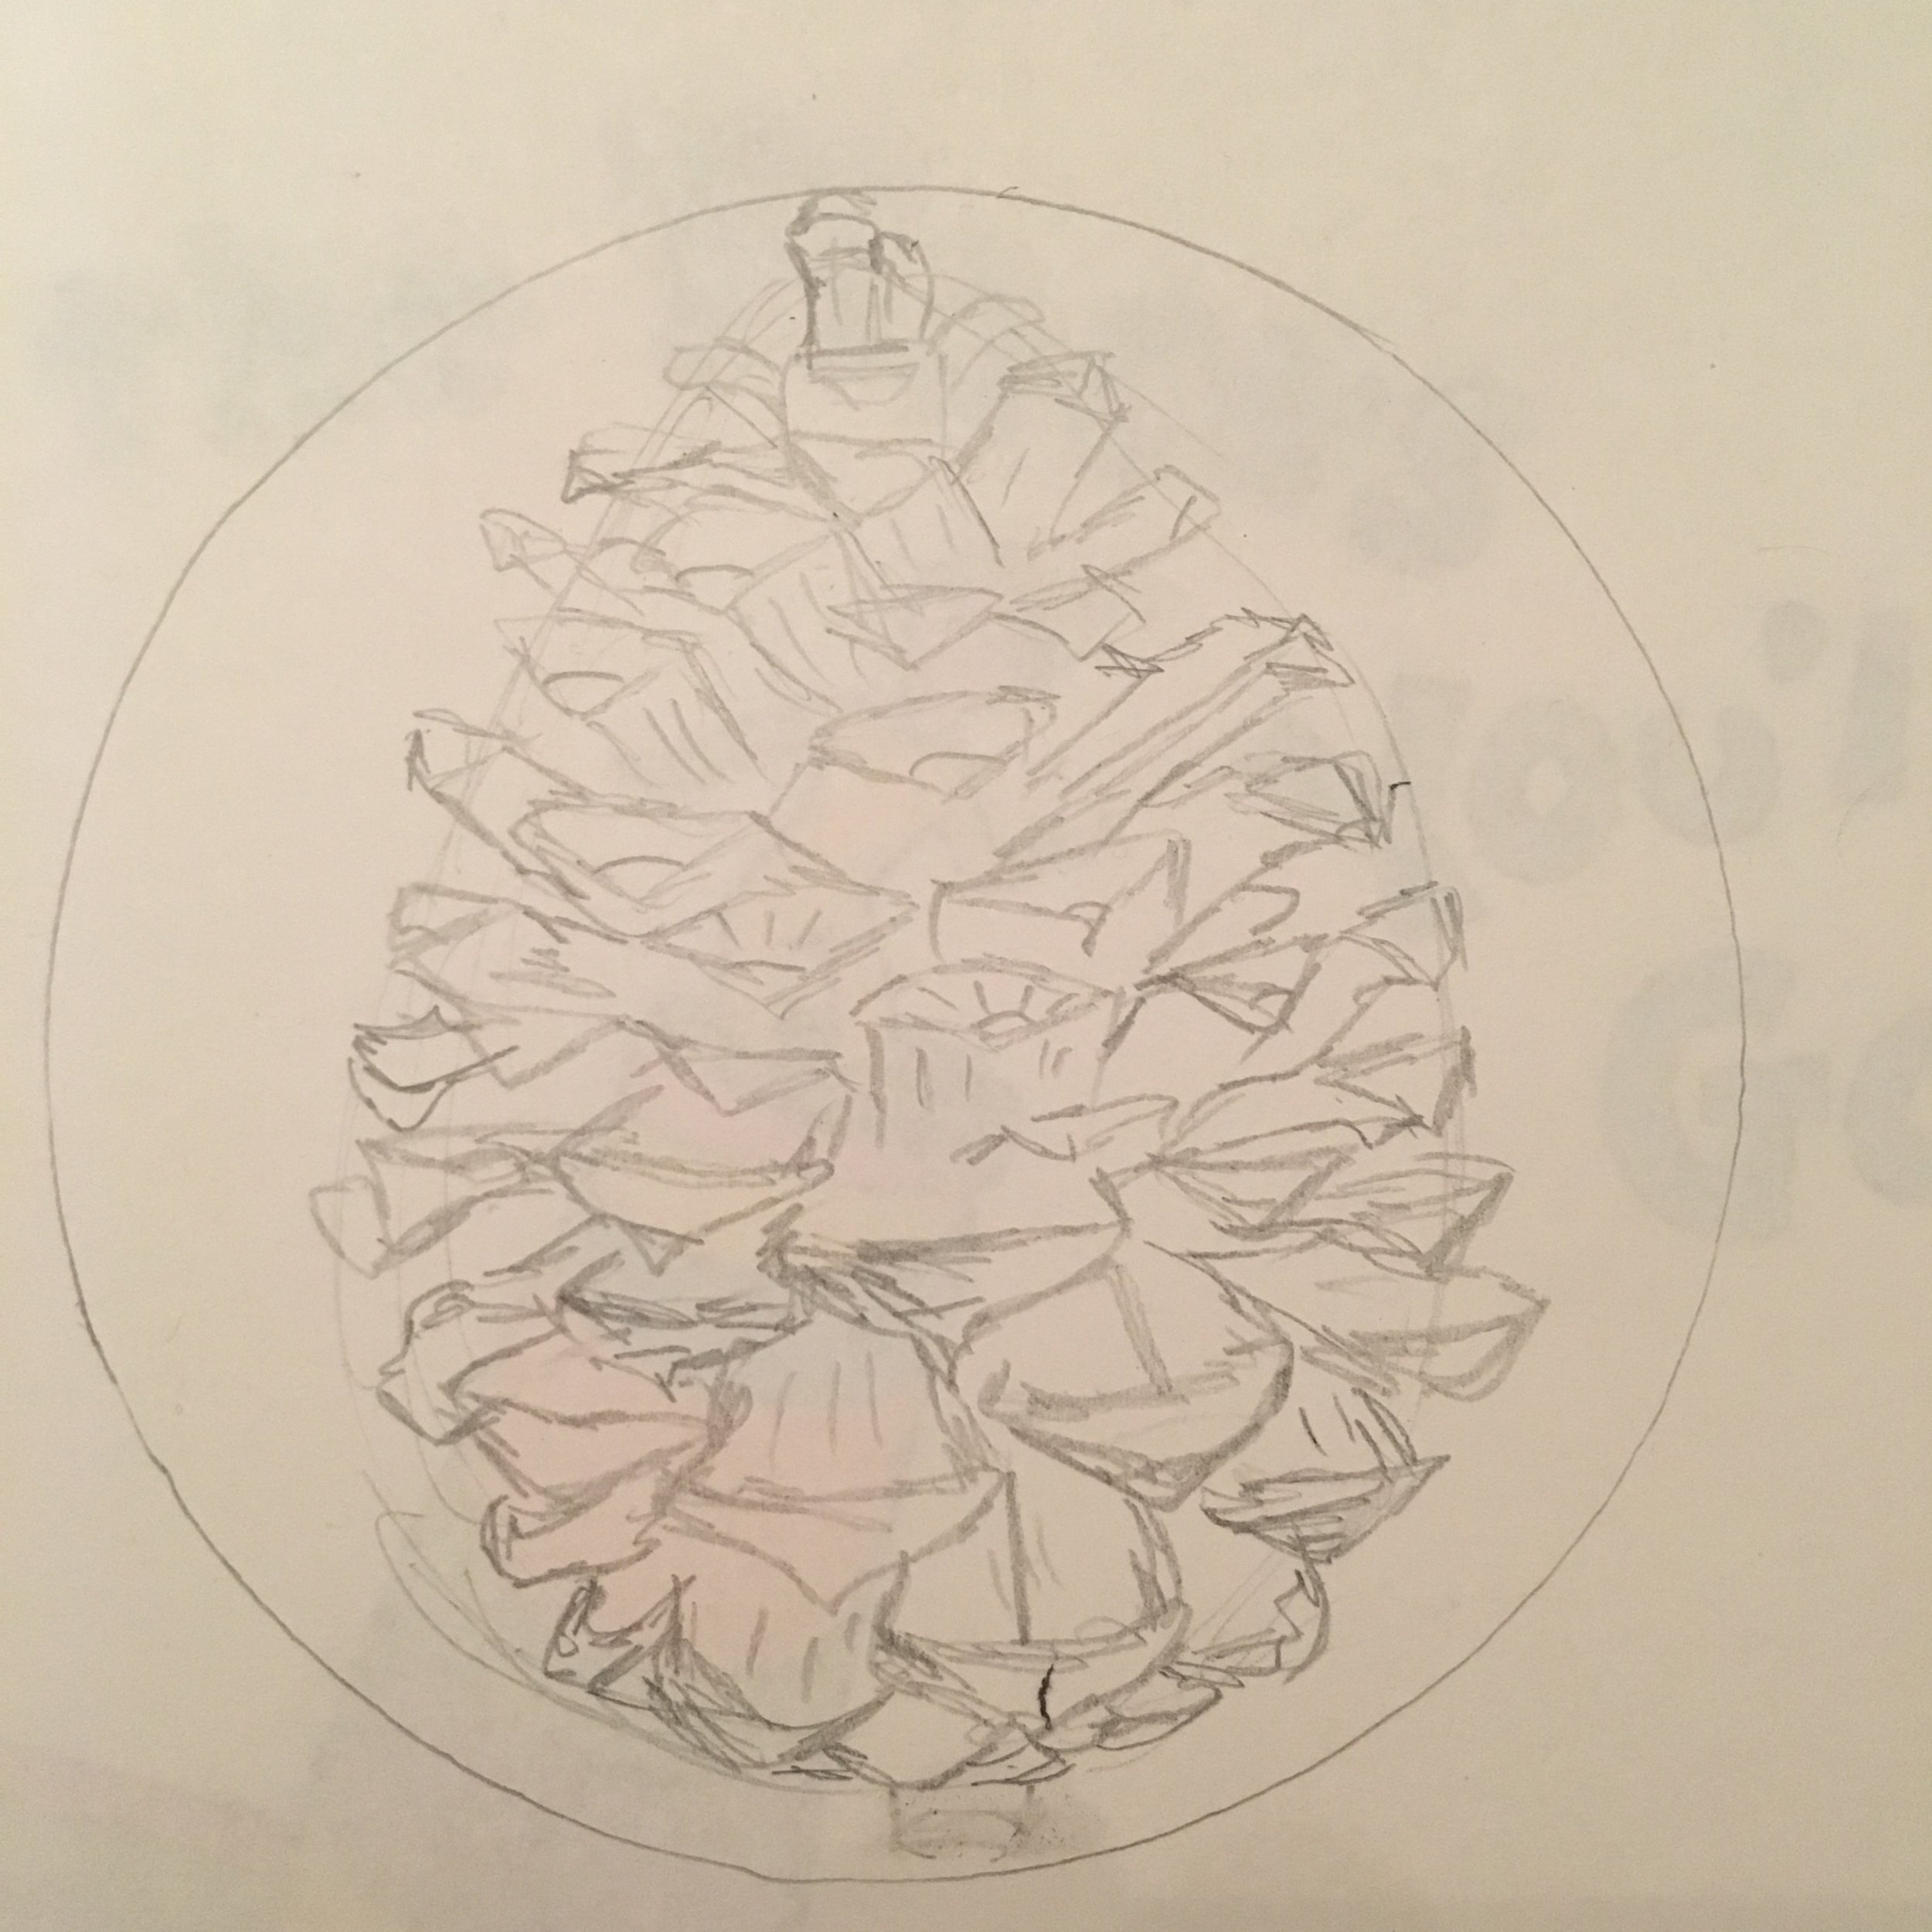
Initial Sketch
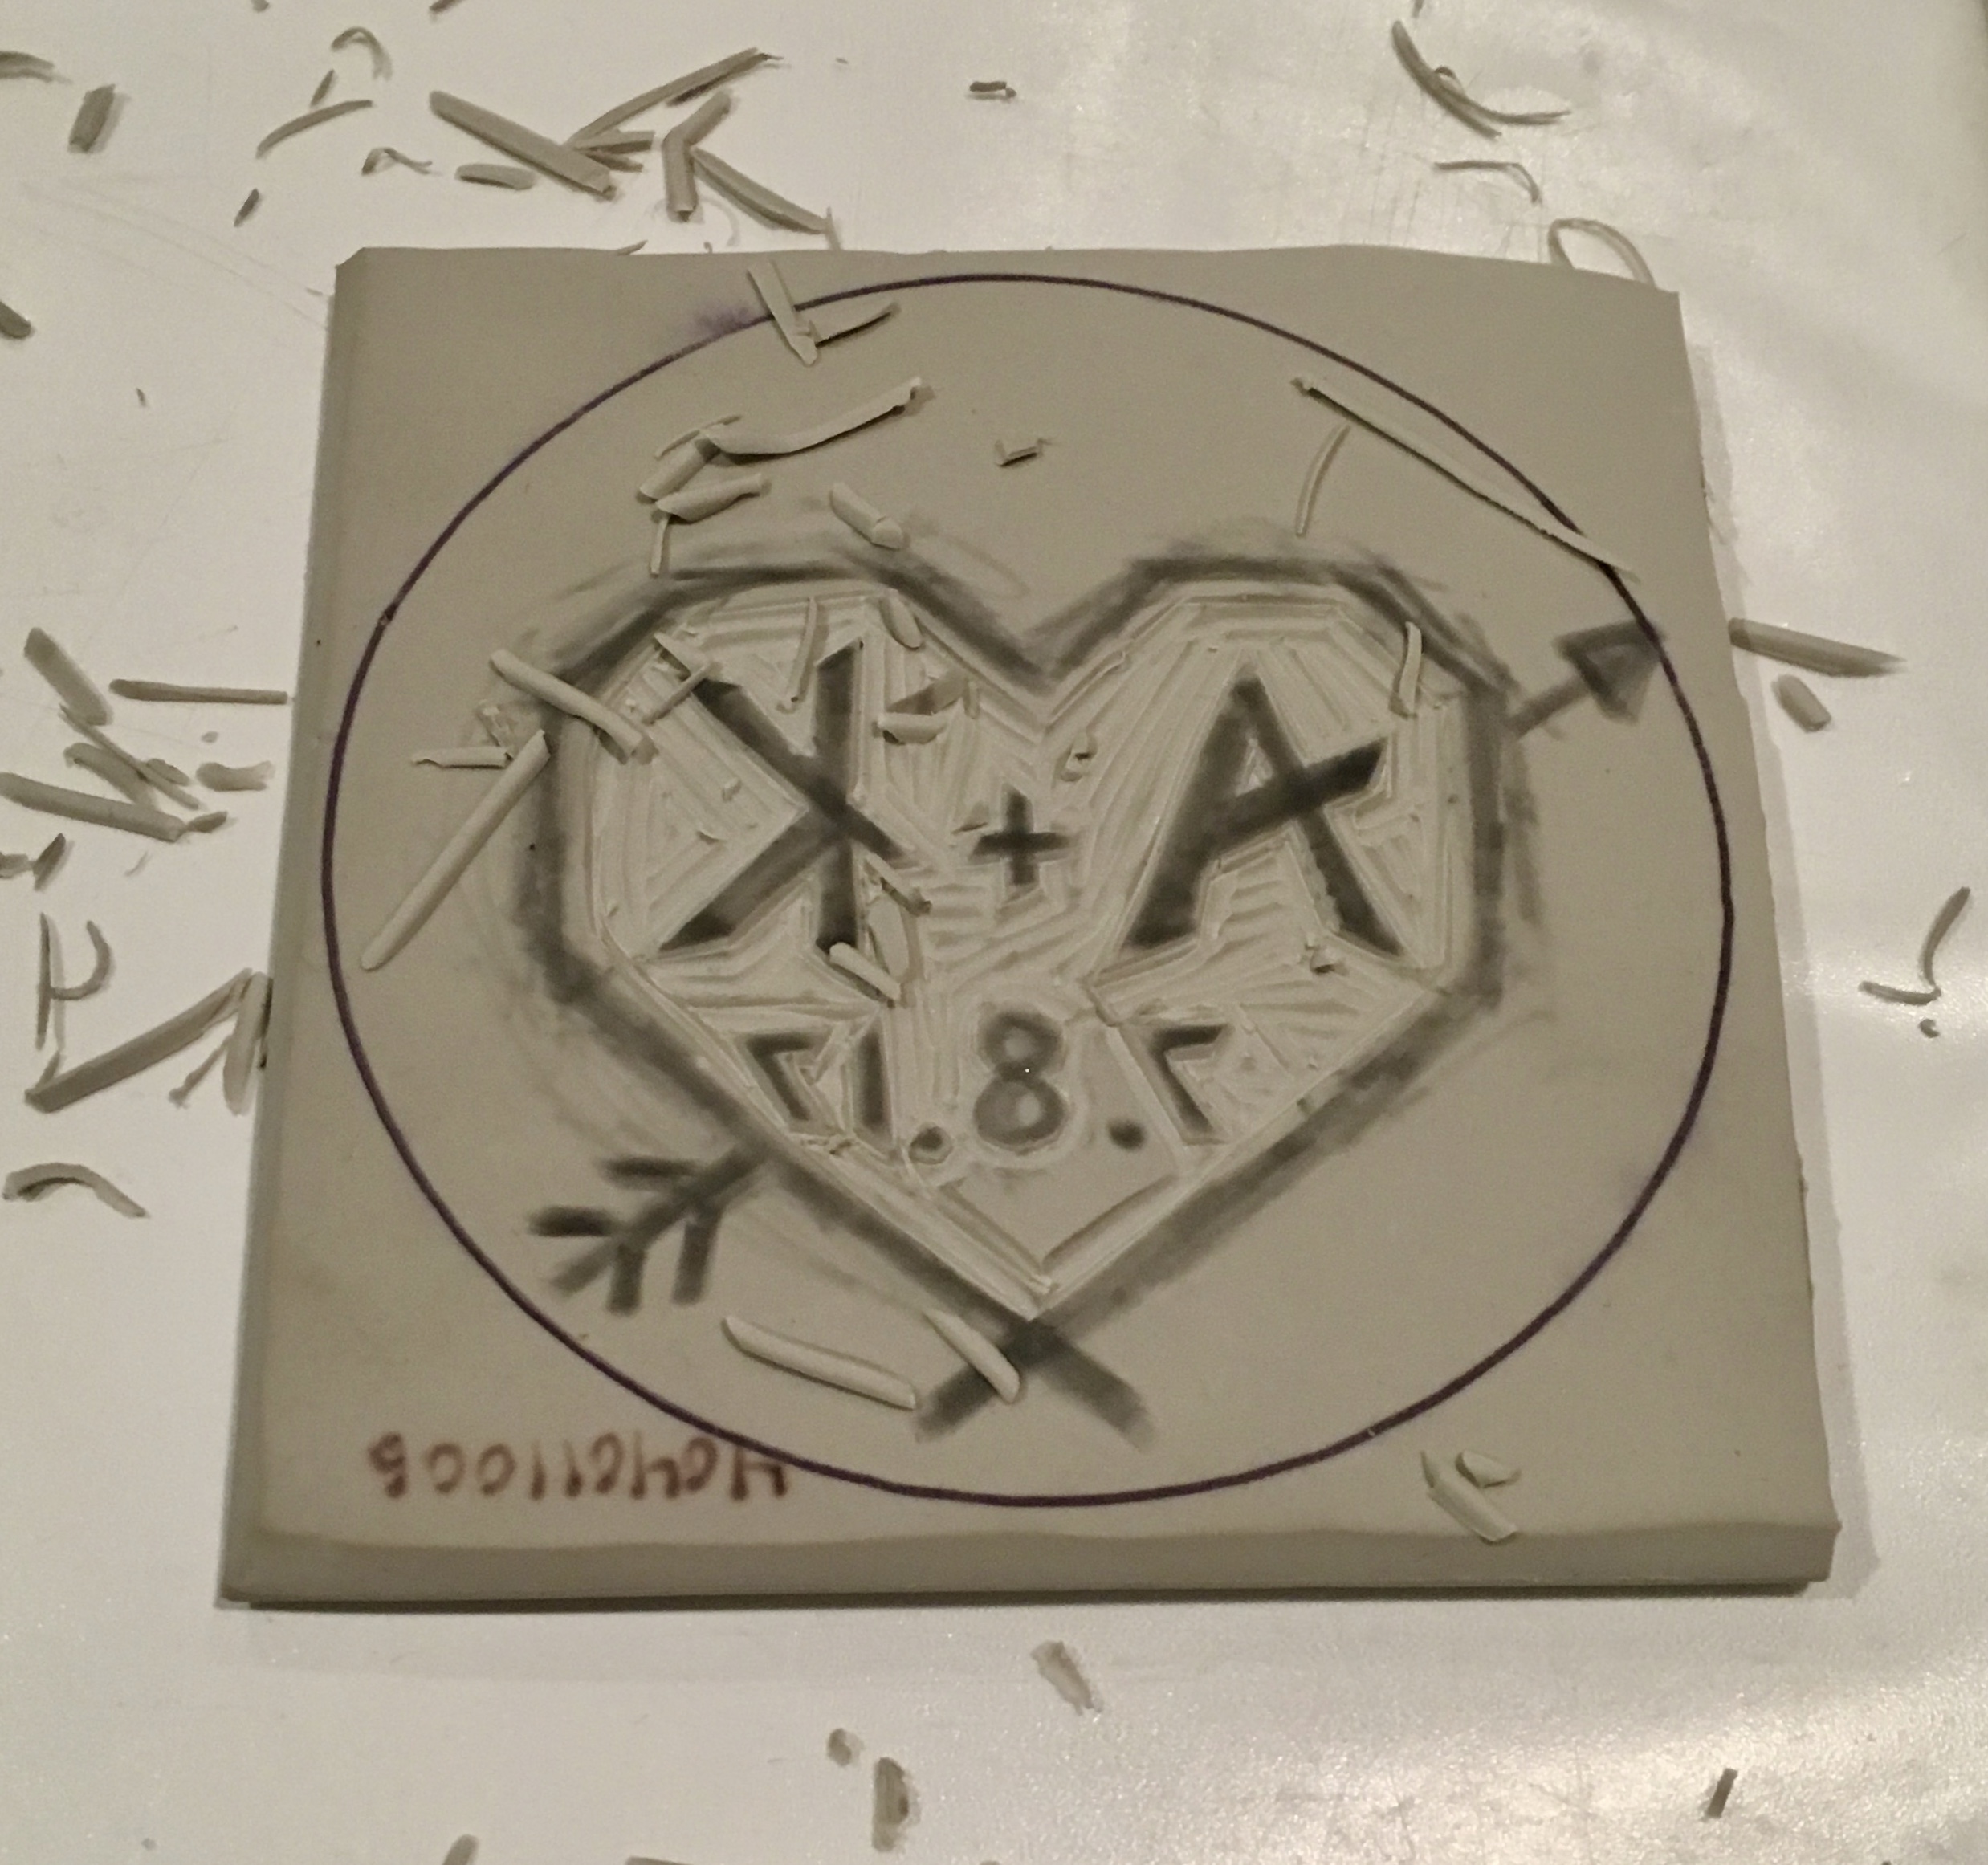
Transfer onto lino-block, decide upon negative and positive spaces and start carving
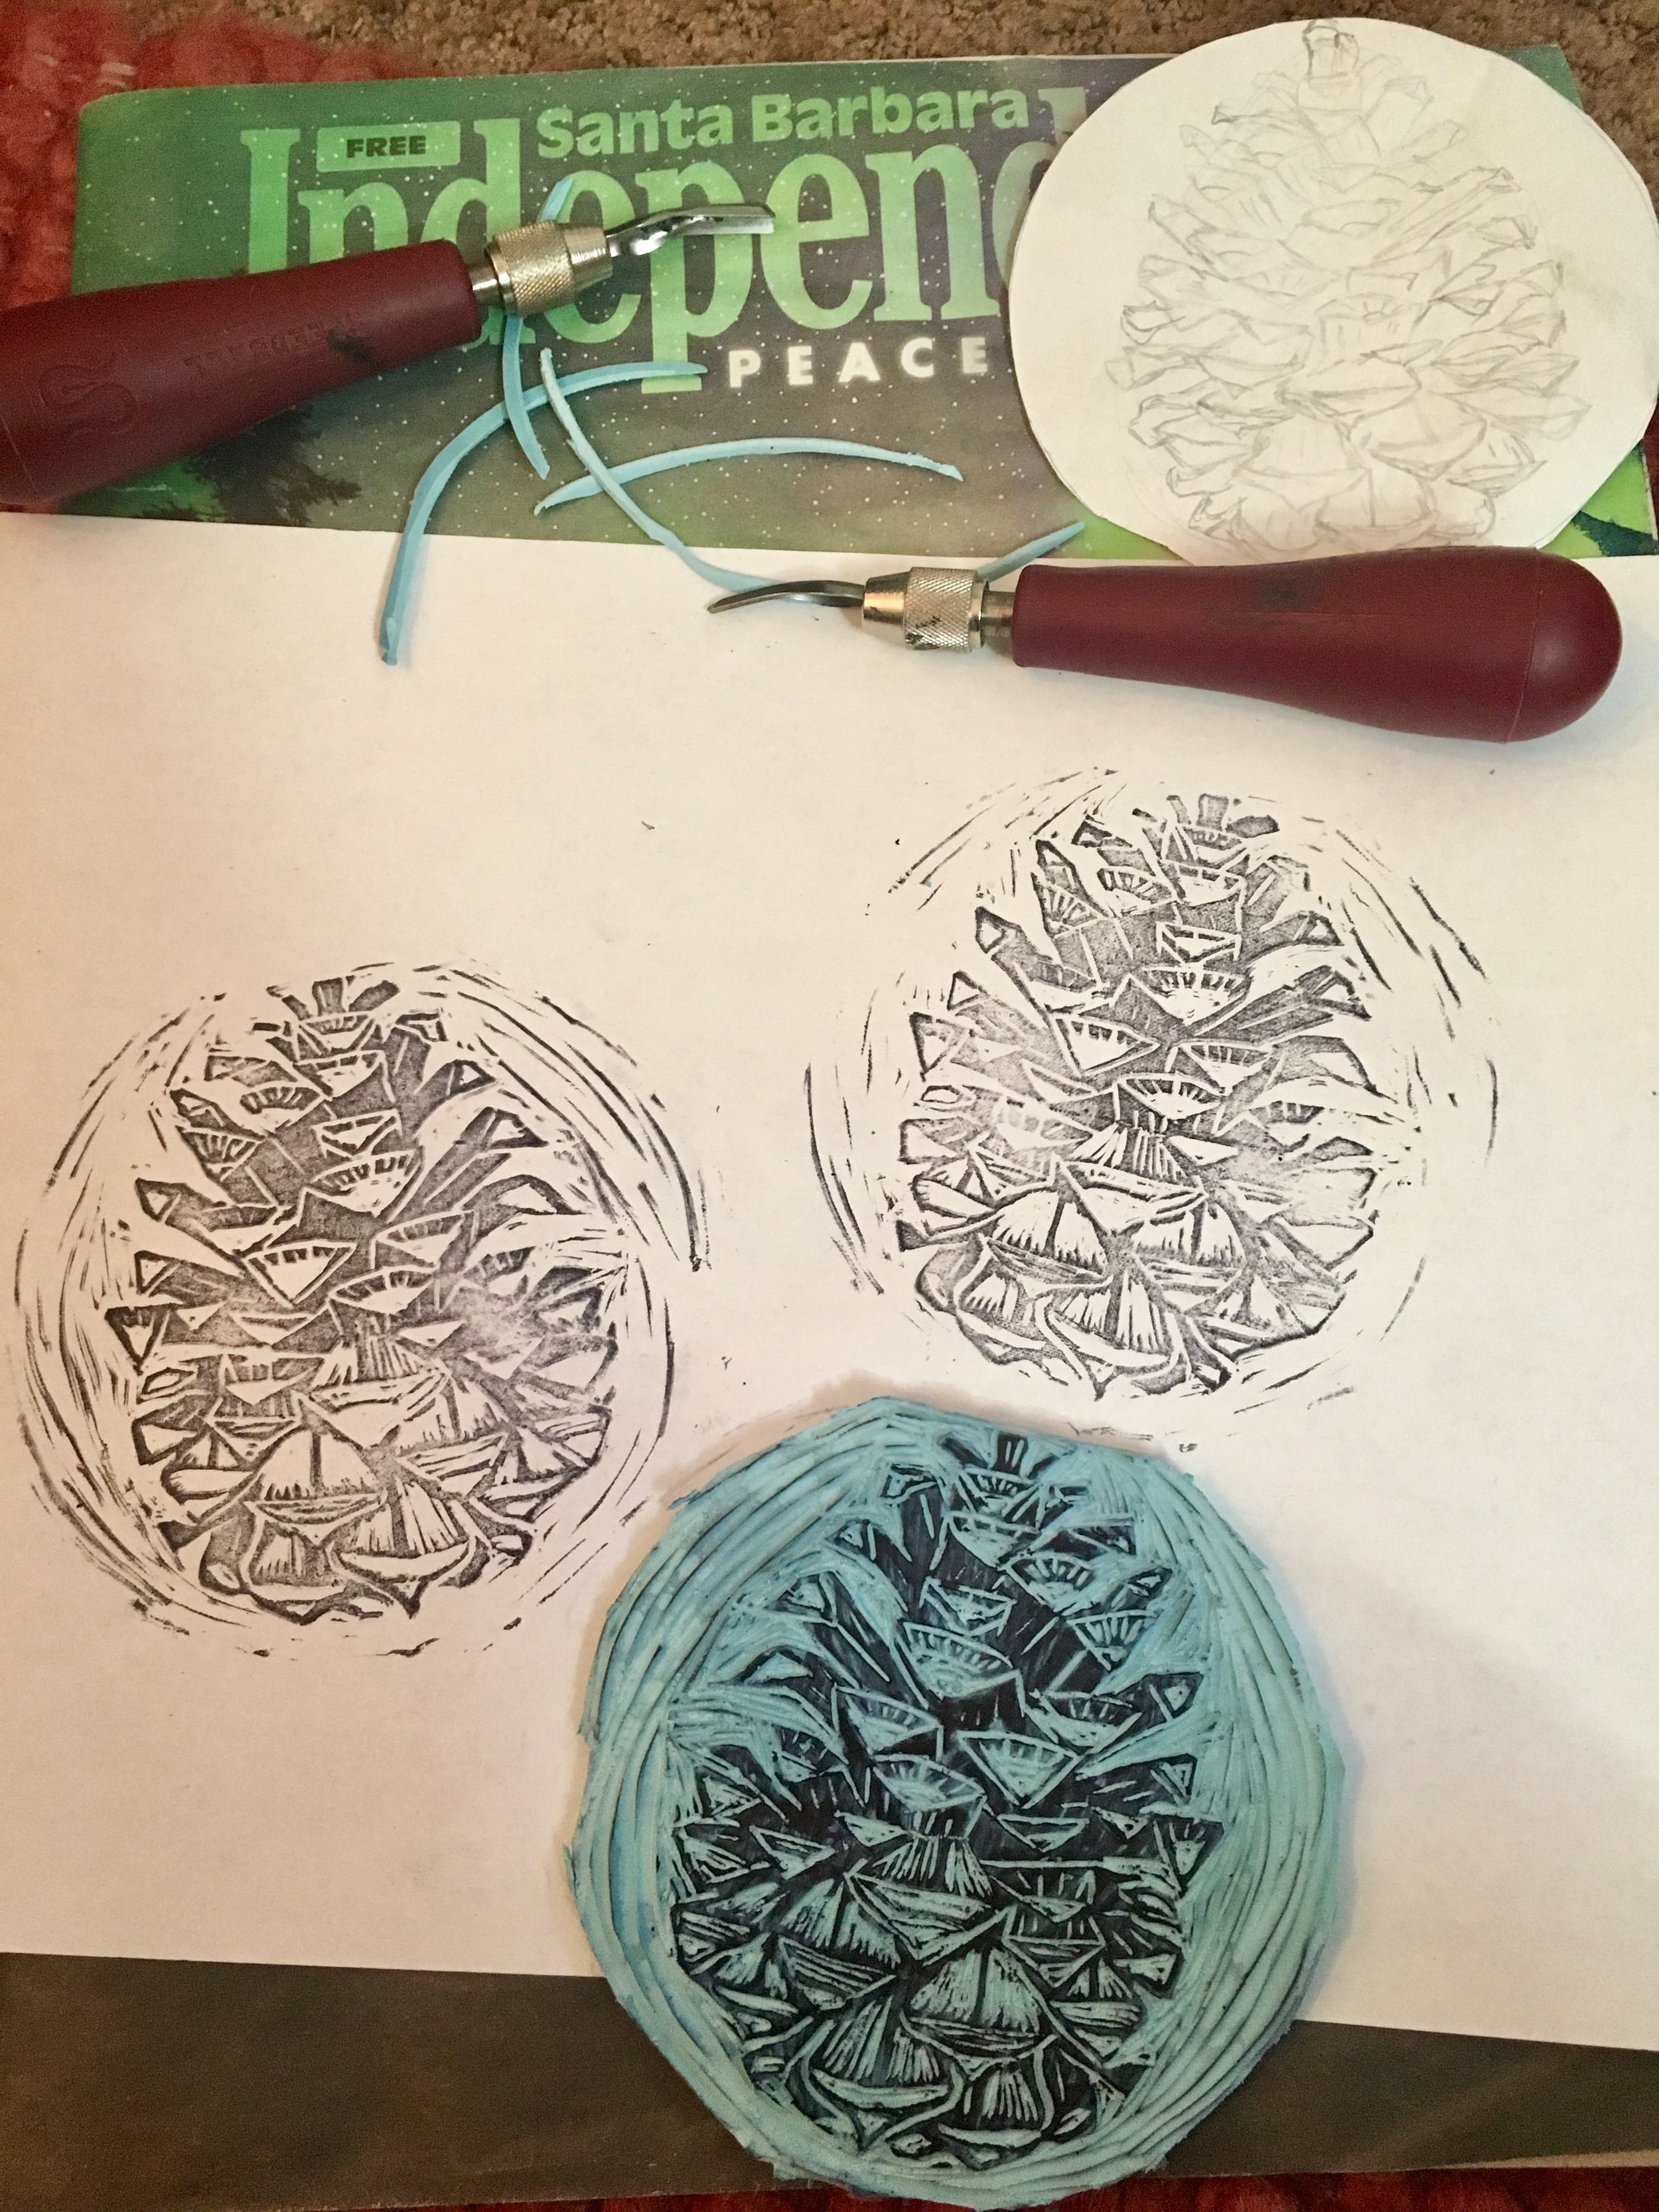
Test print
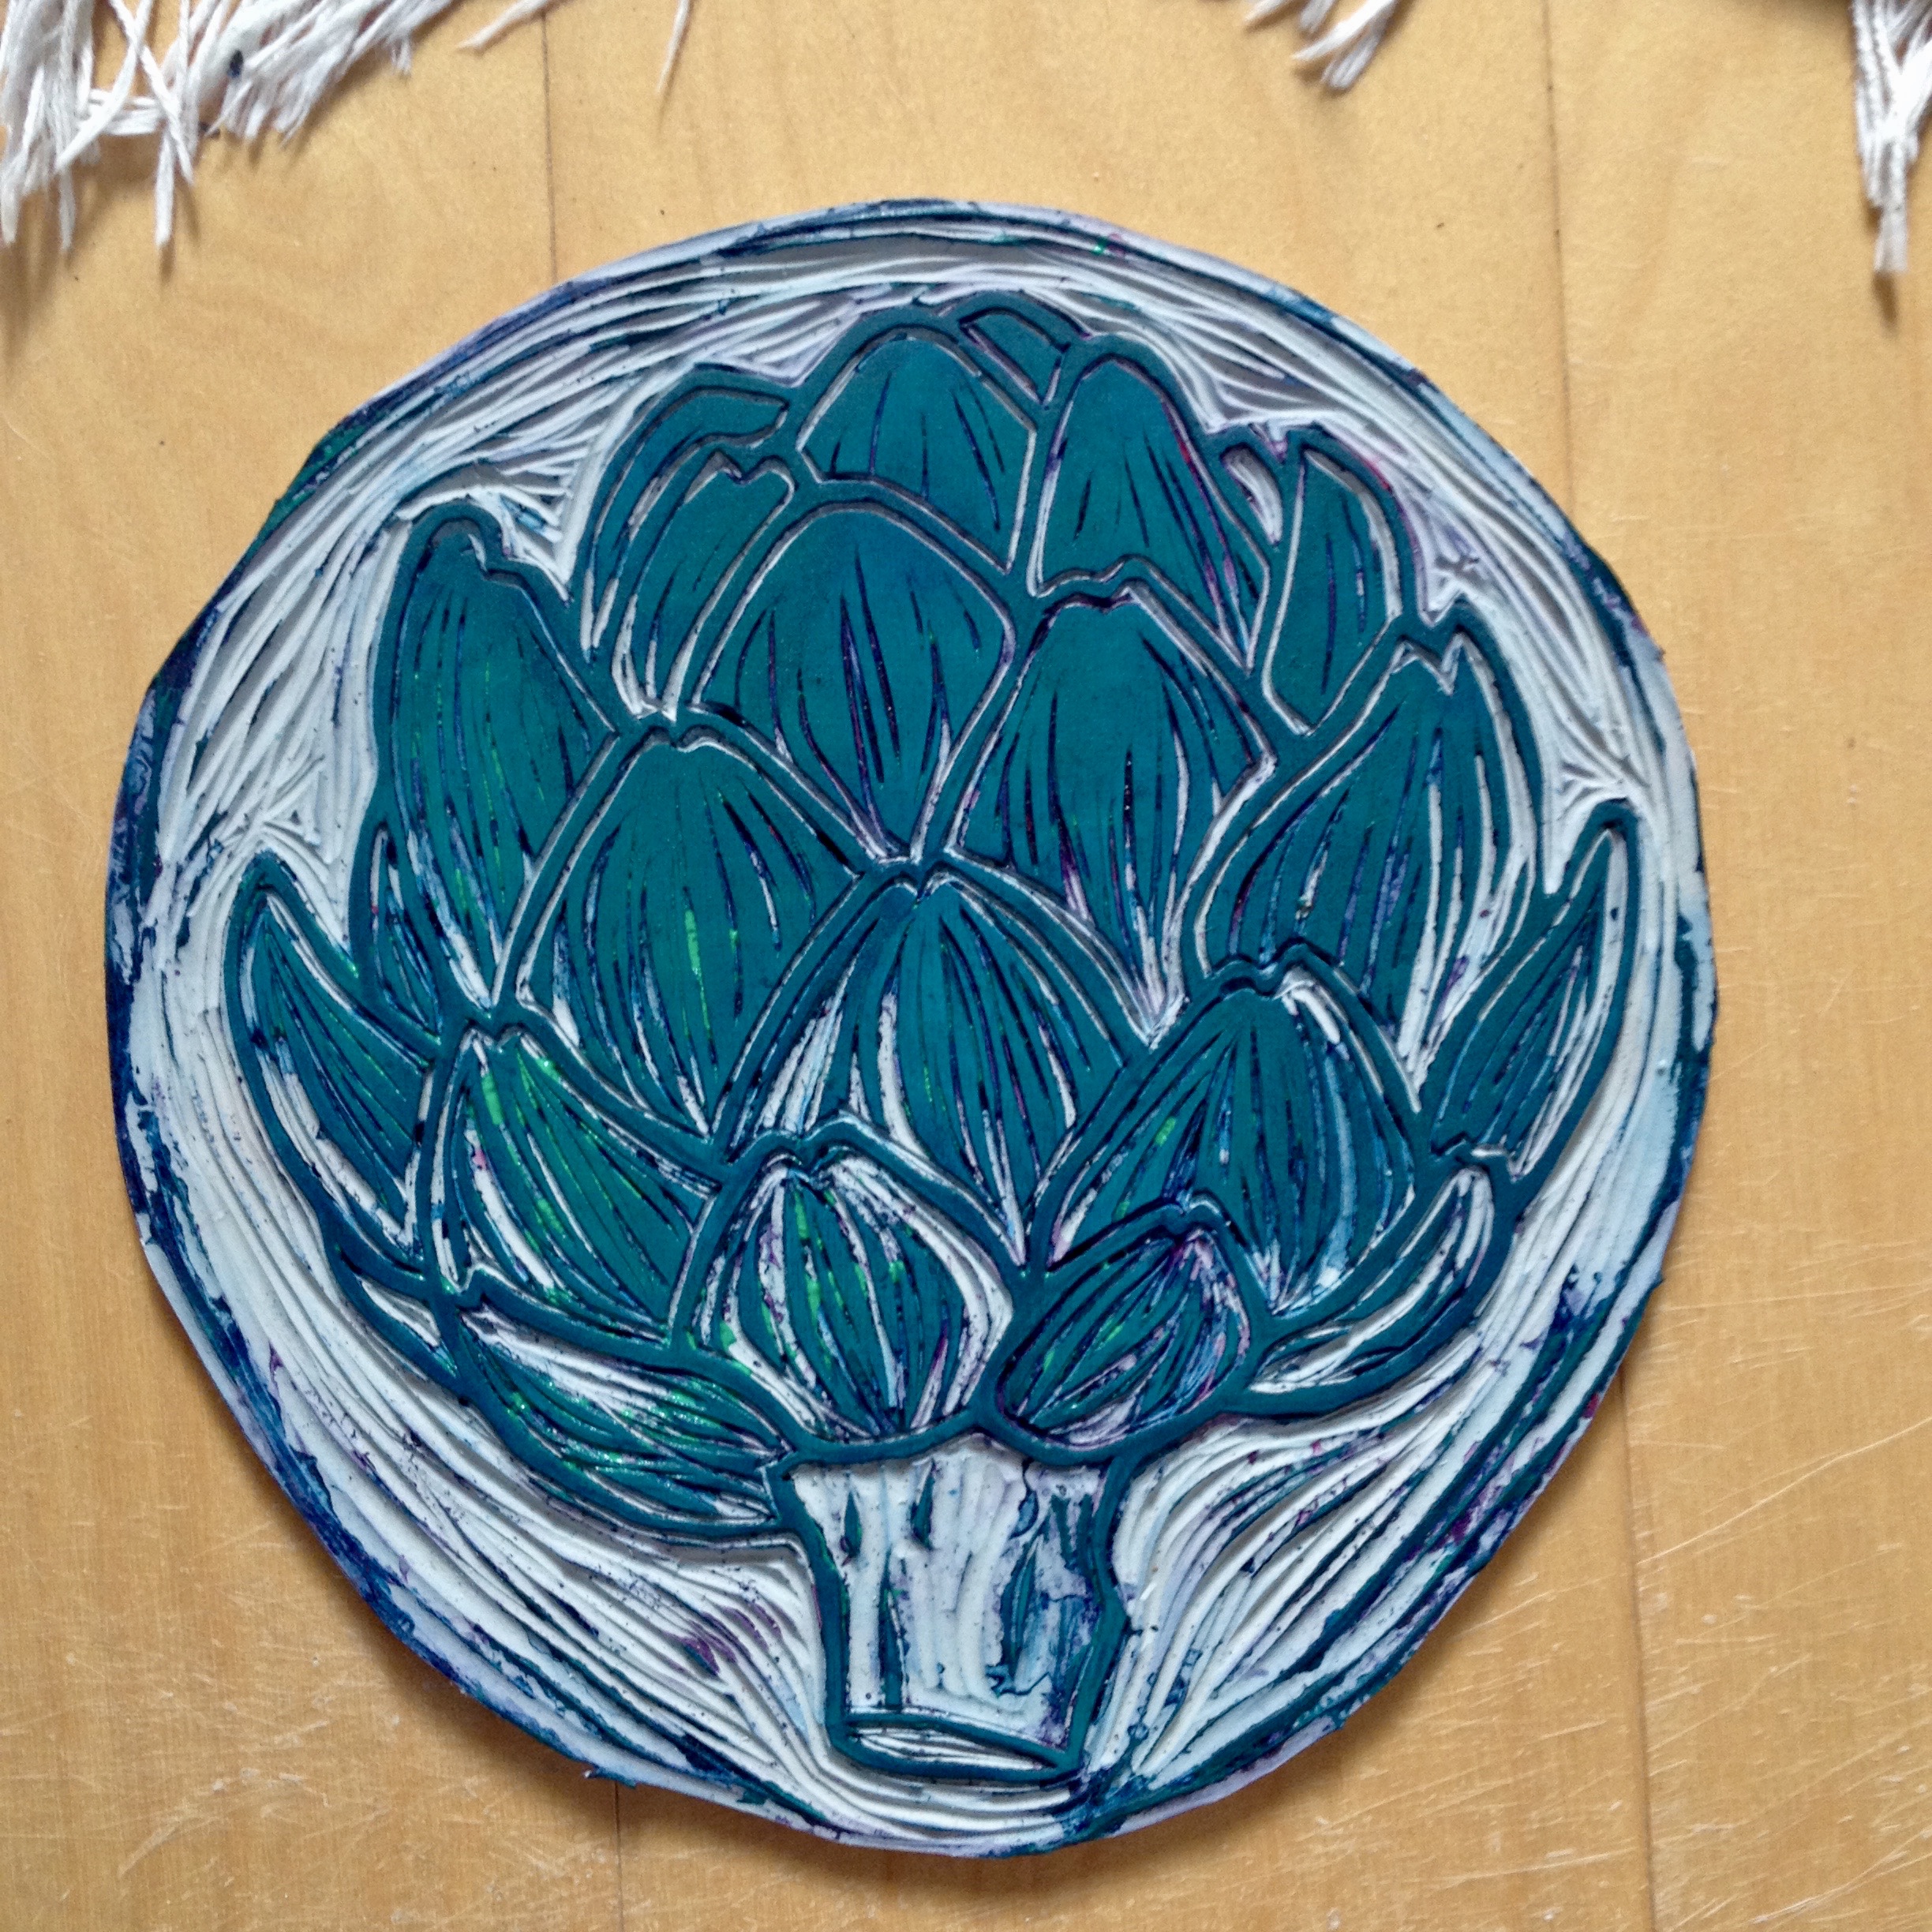
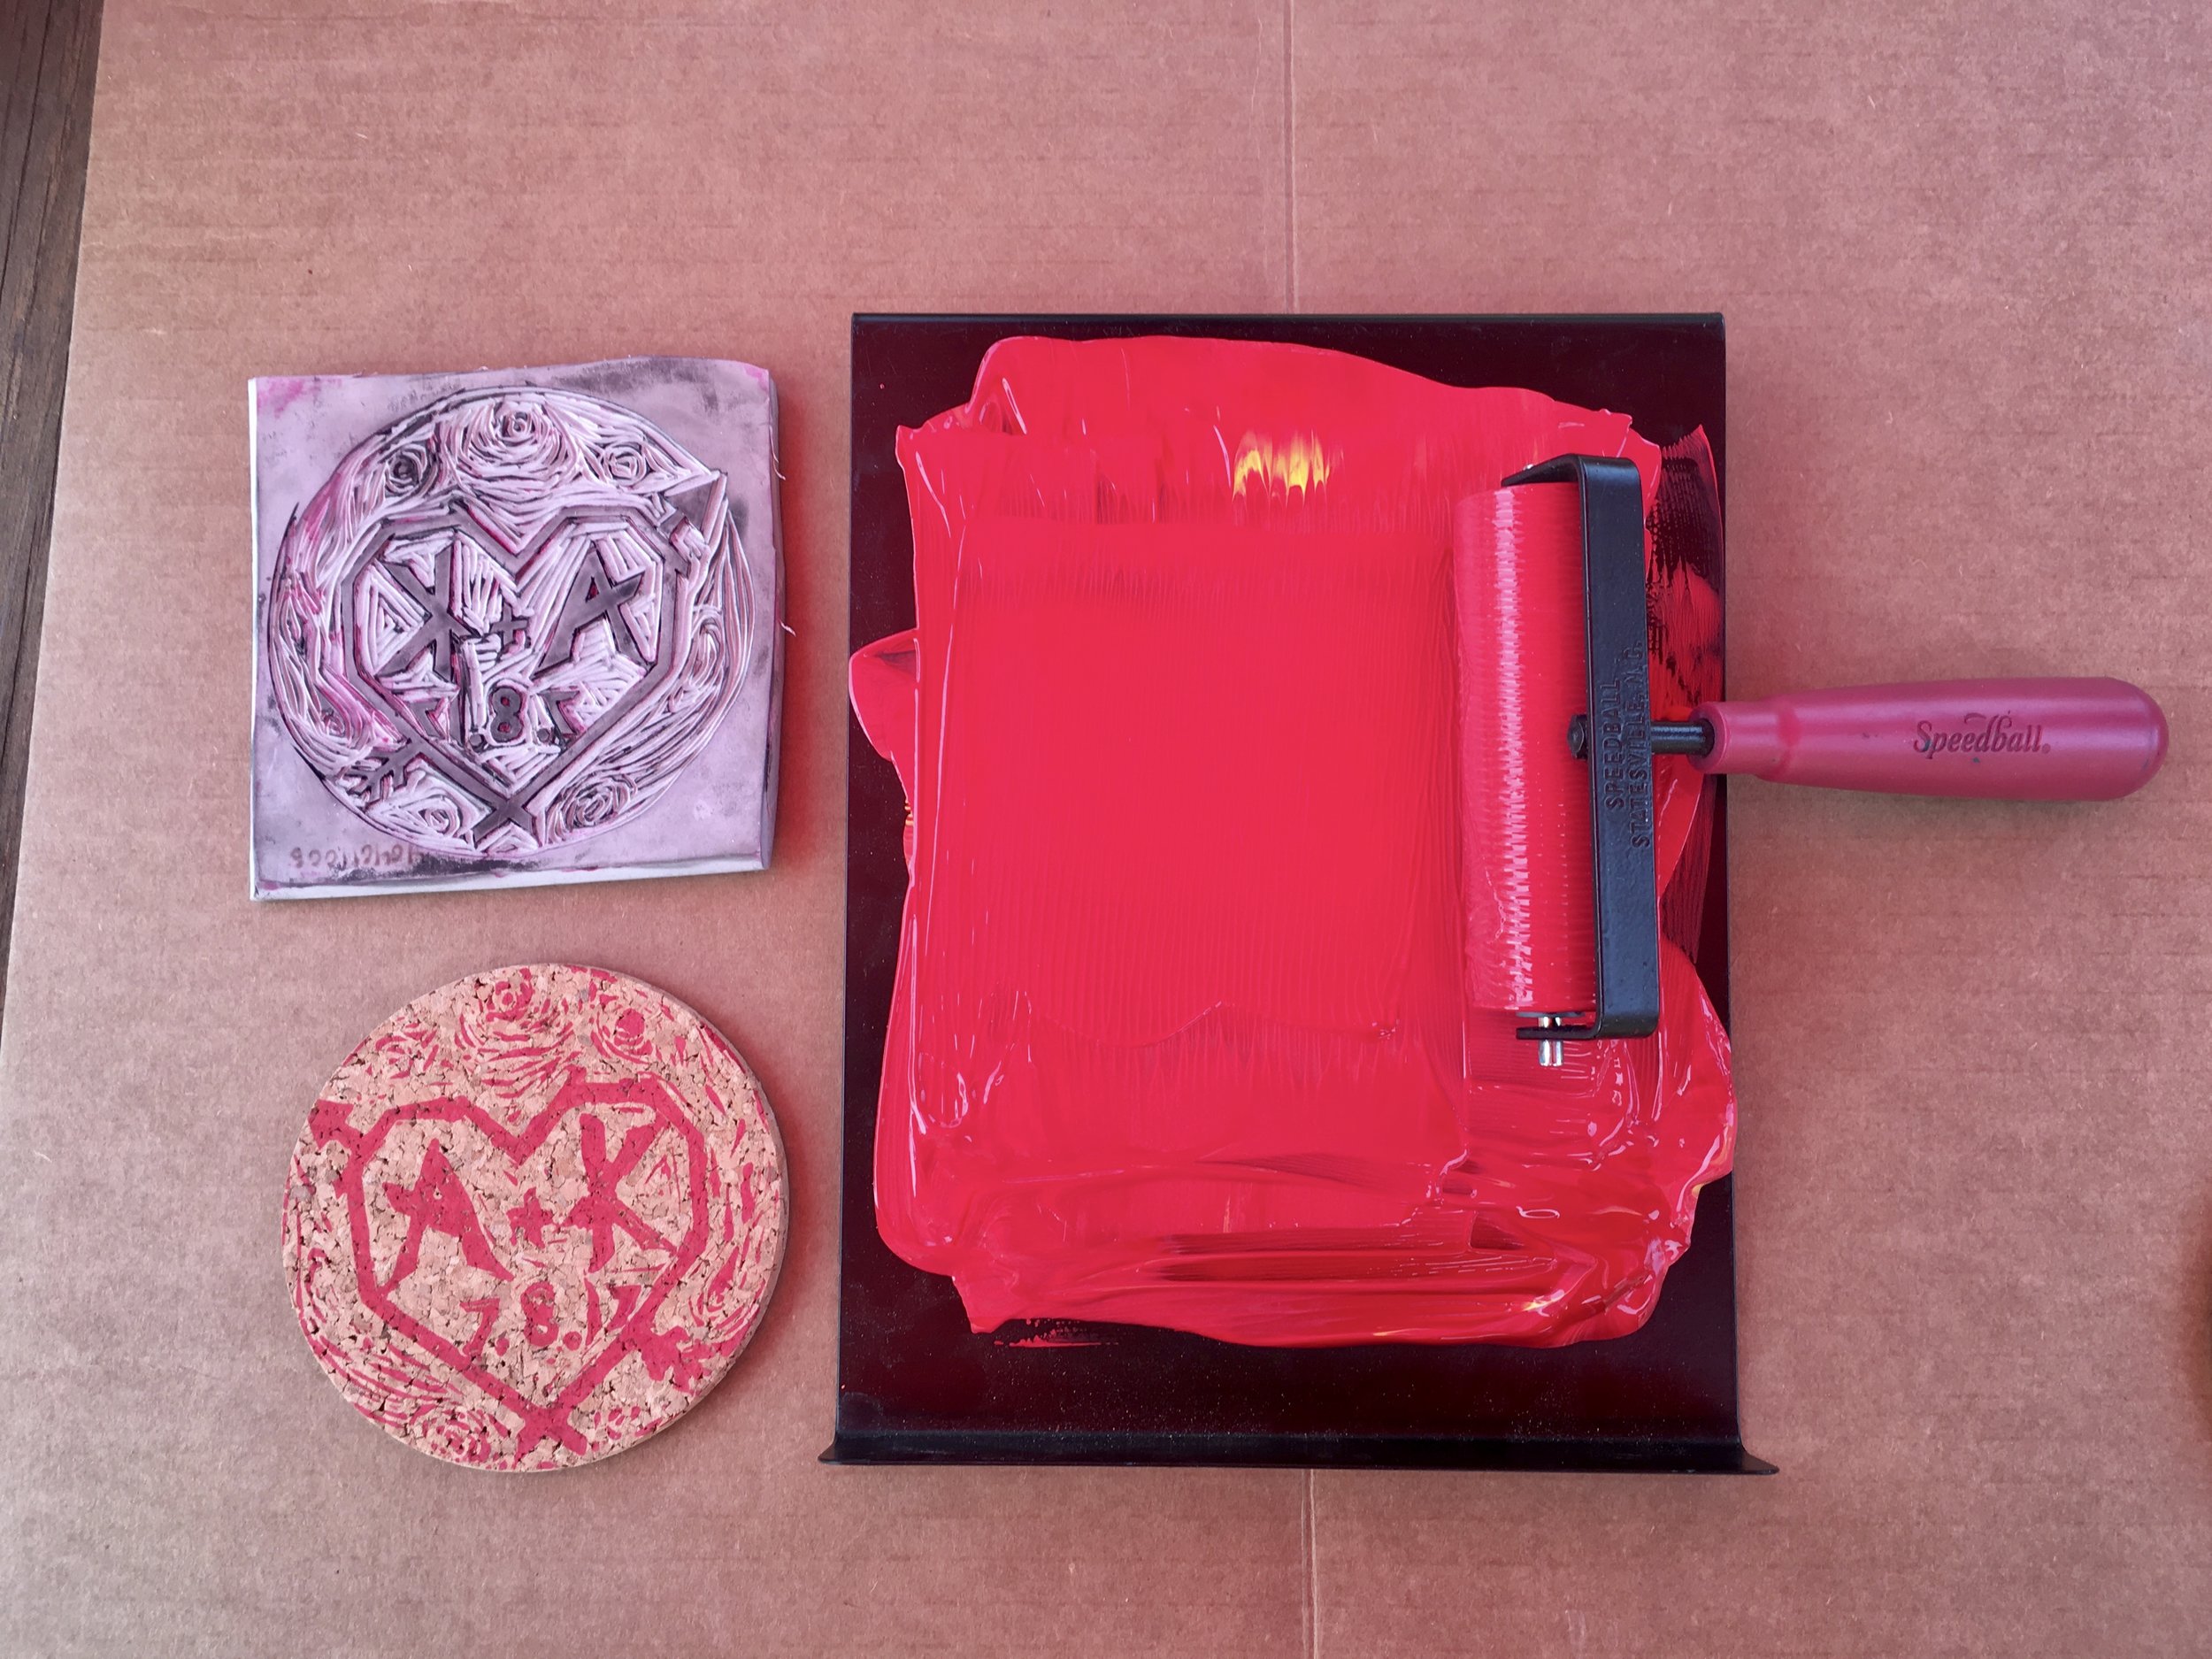
Roll ink onto block
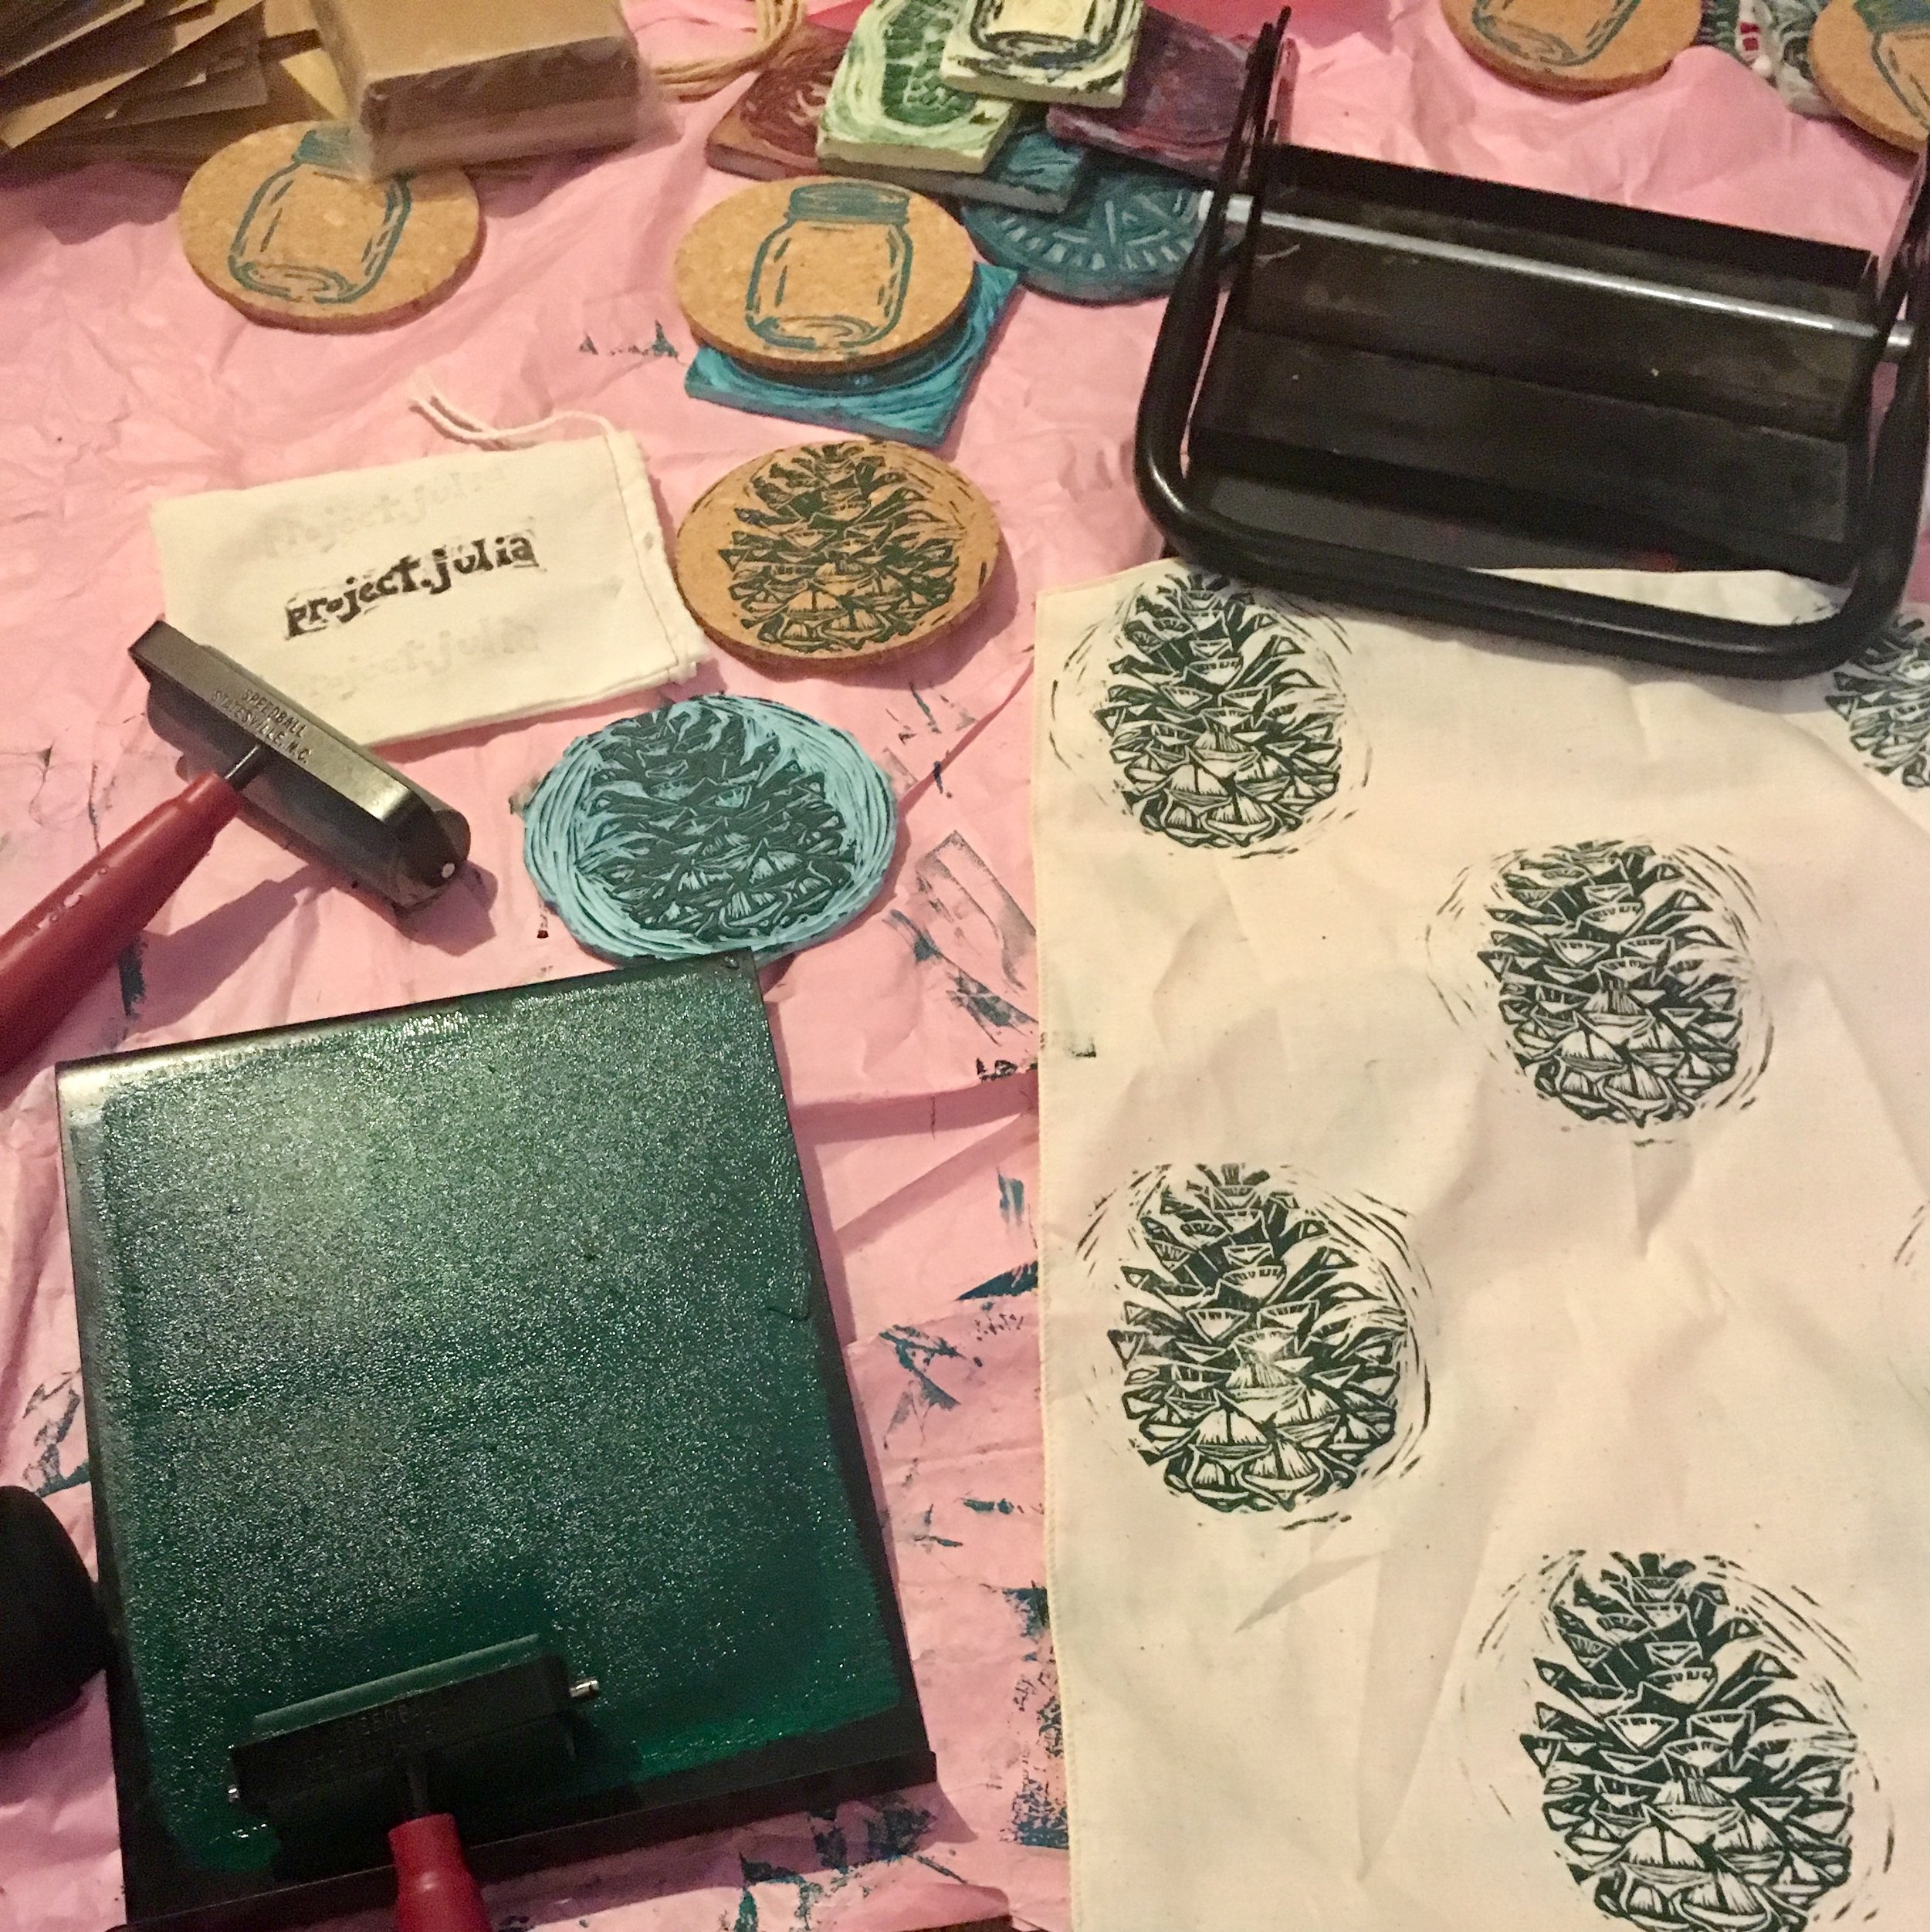
Print!!
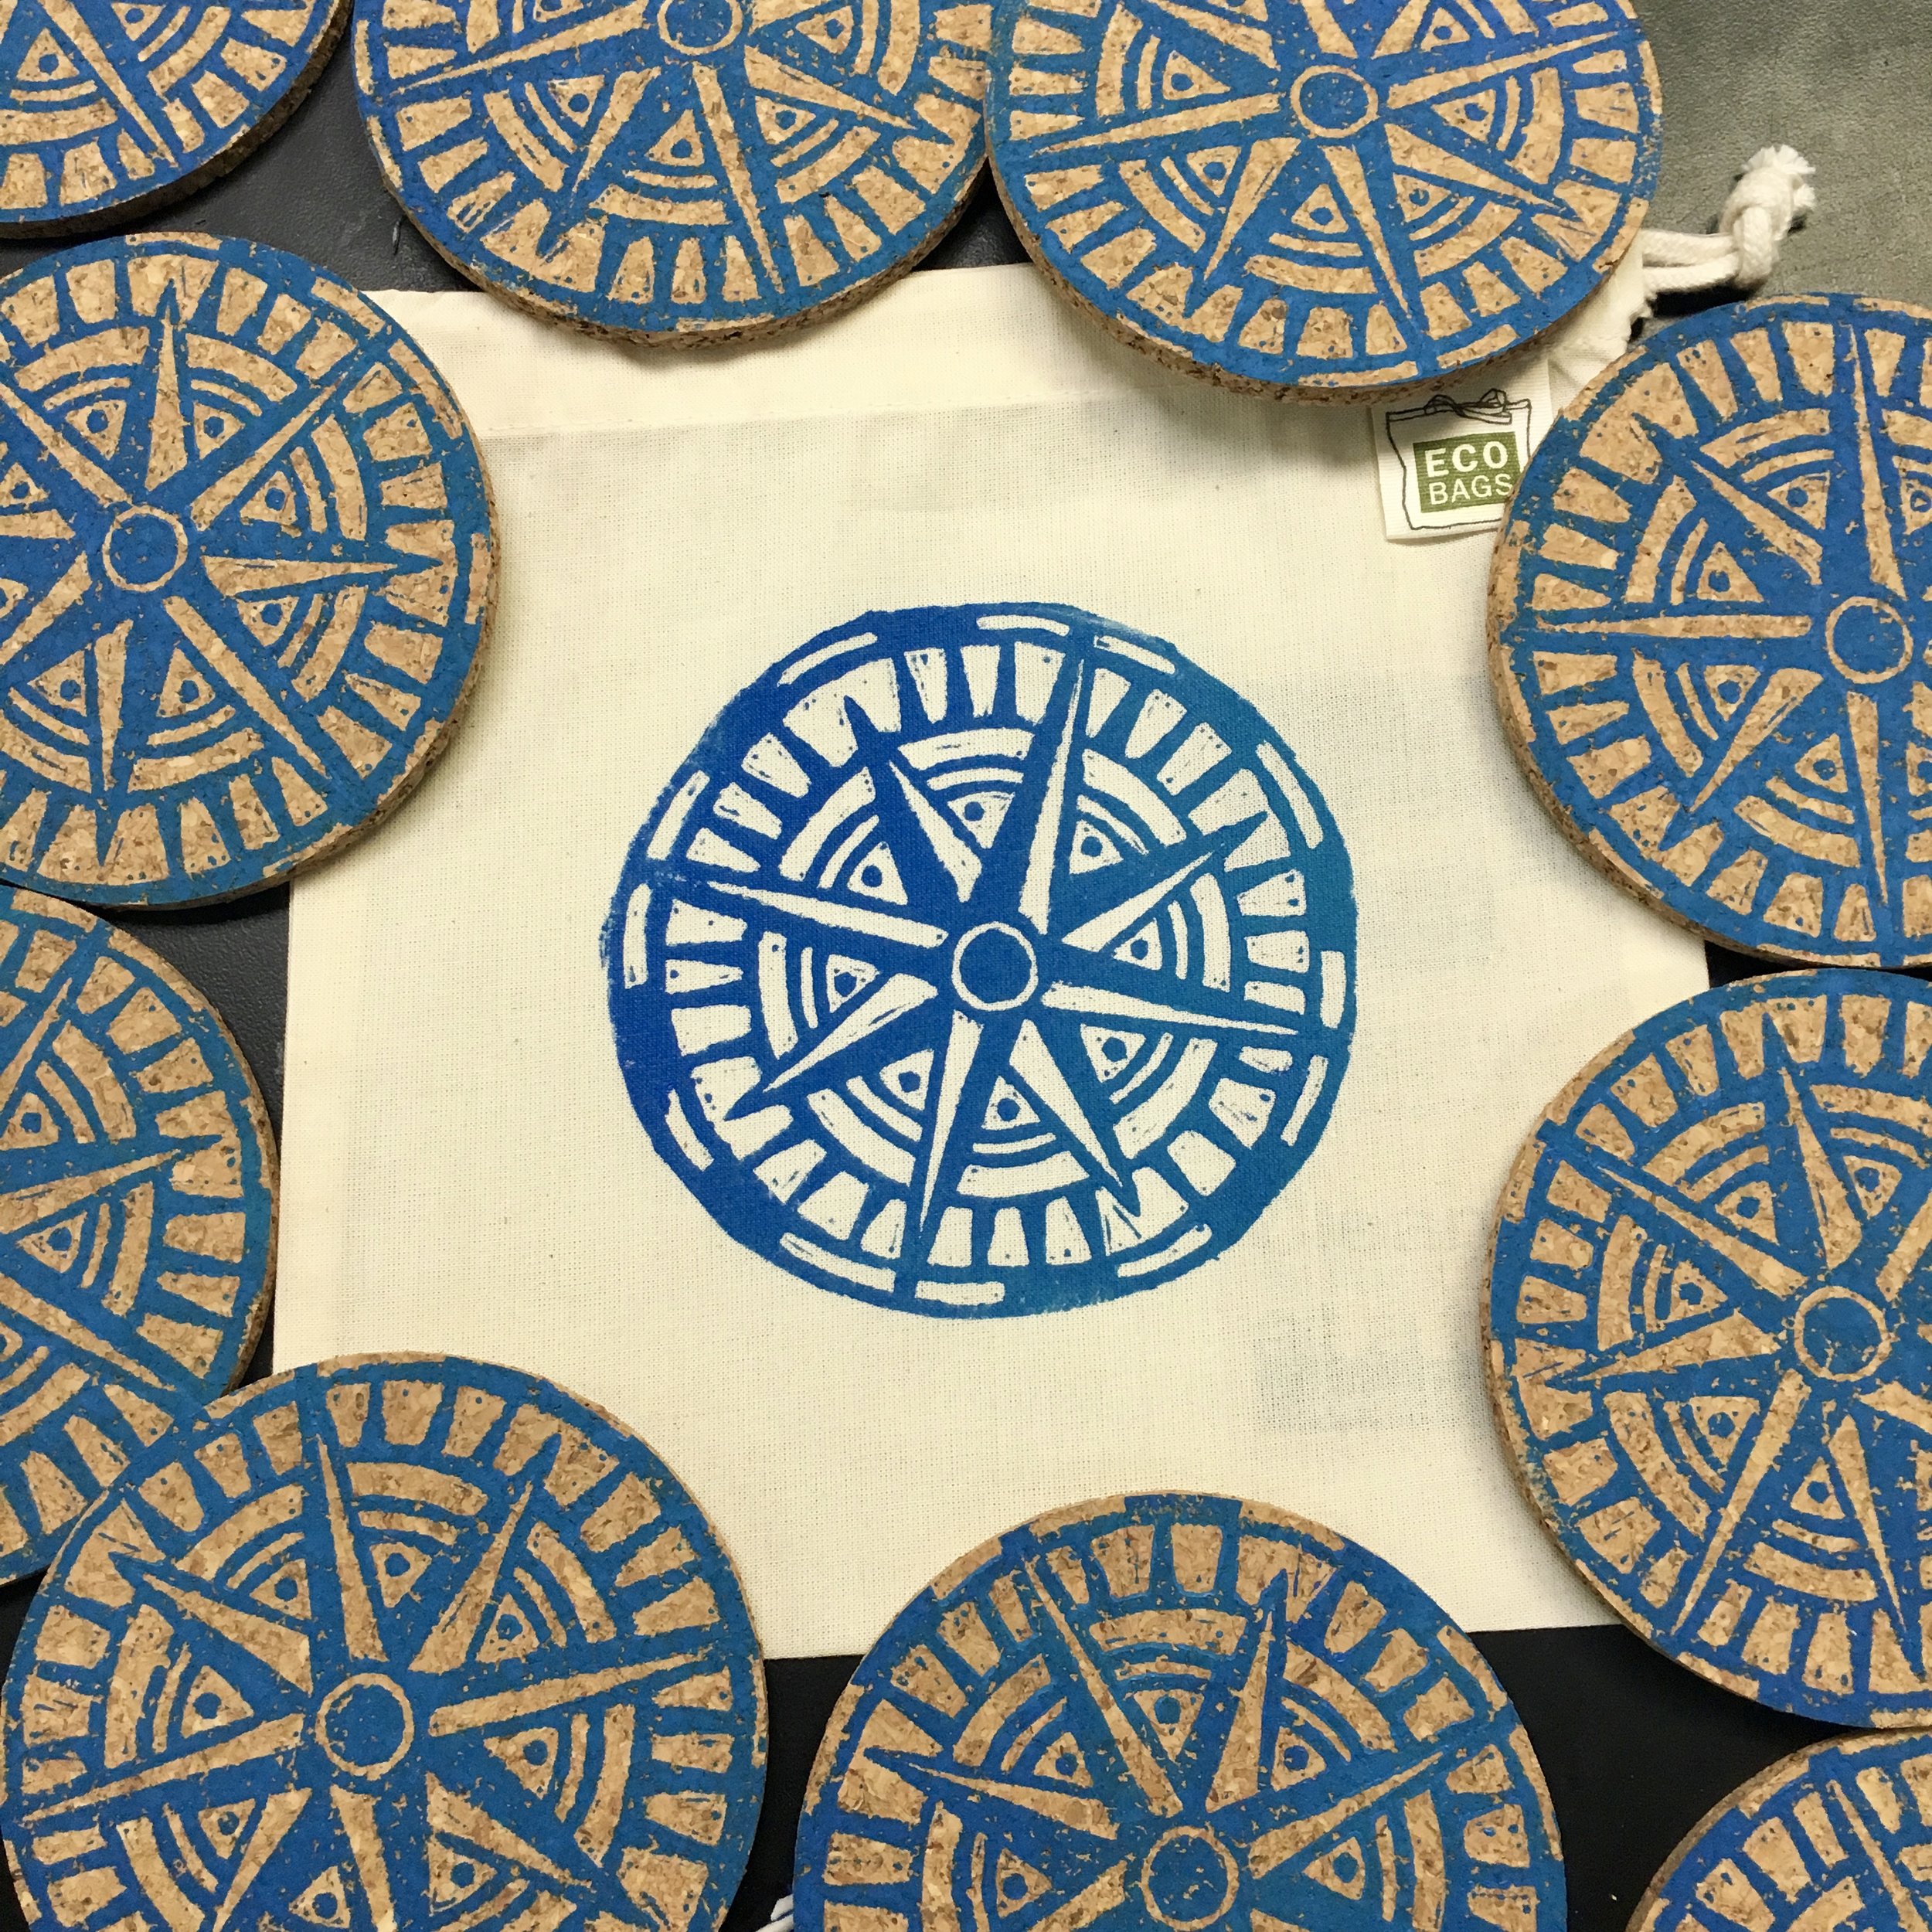
And print
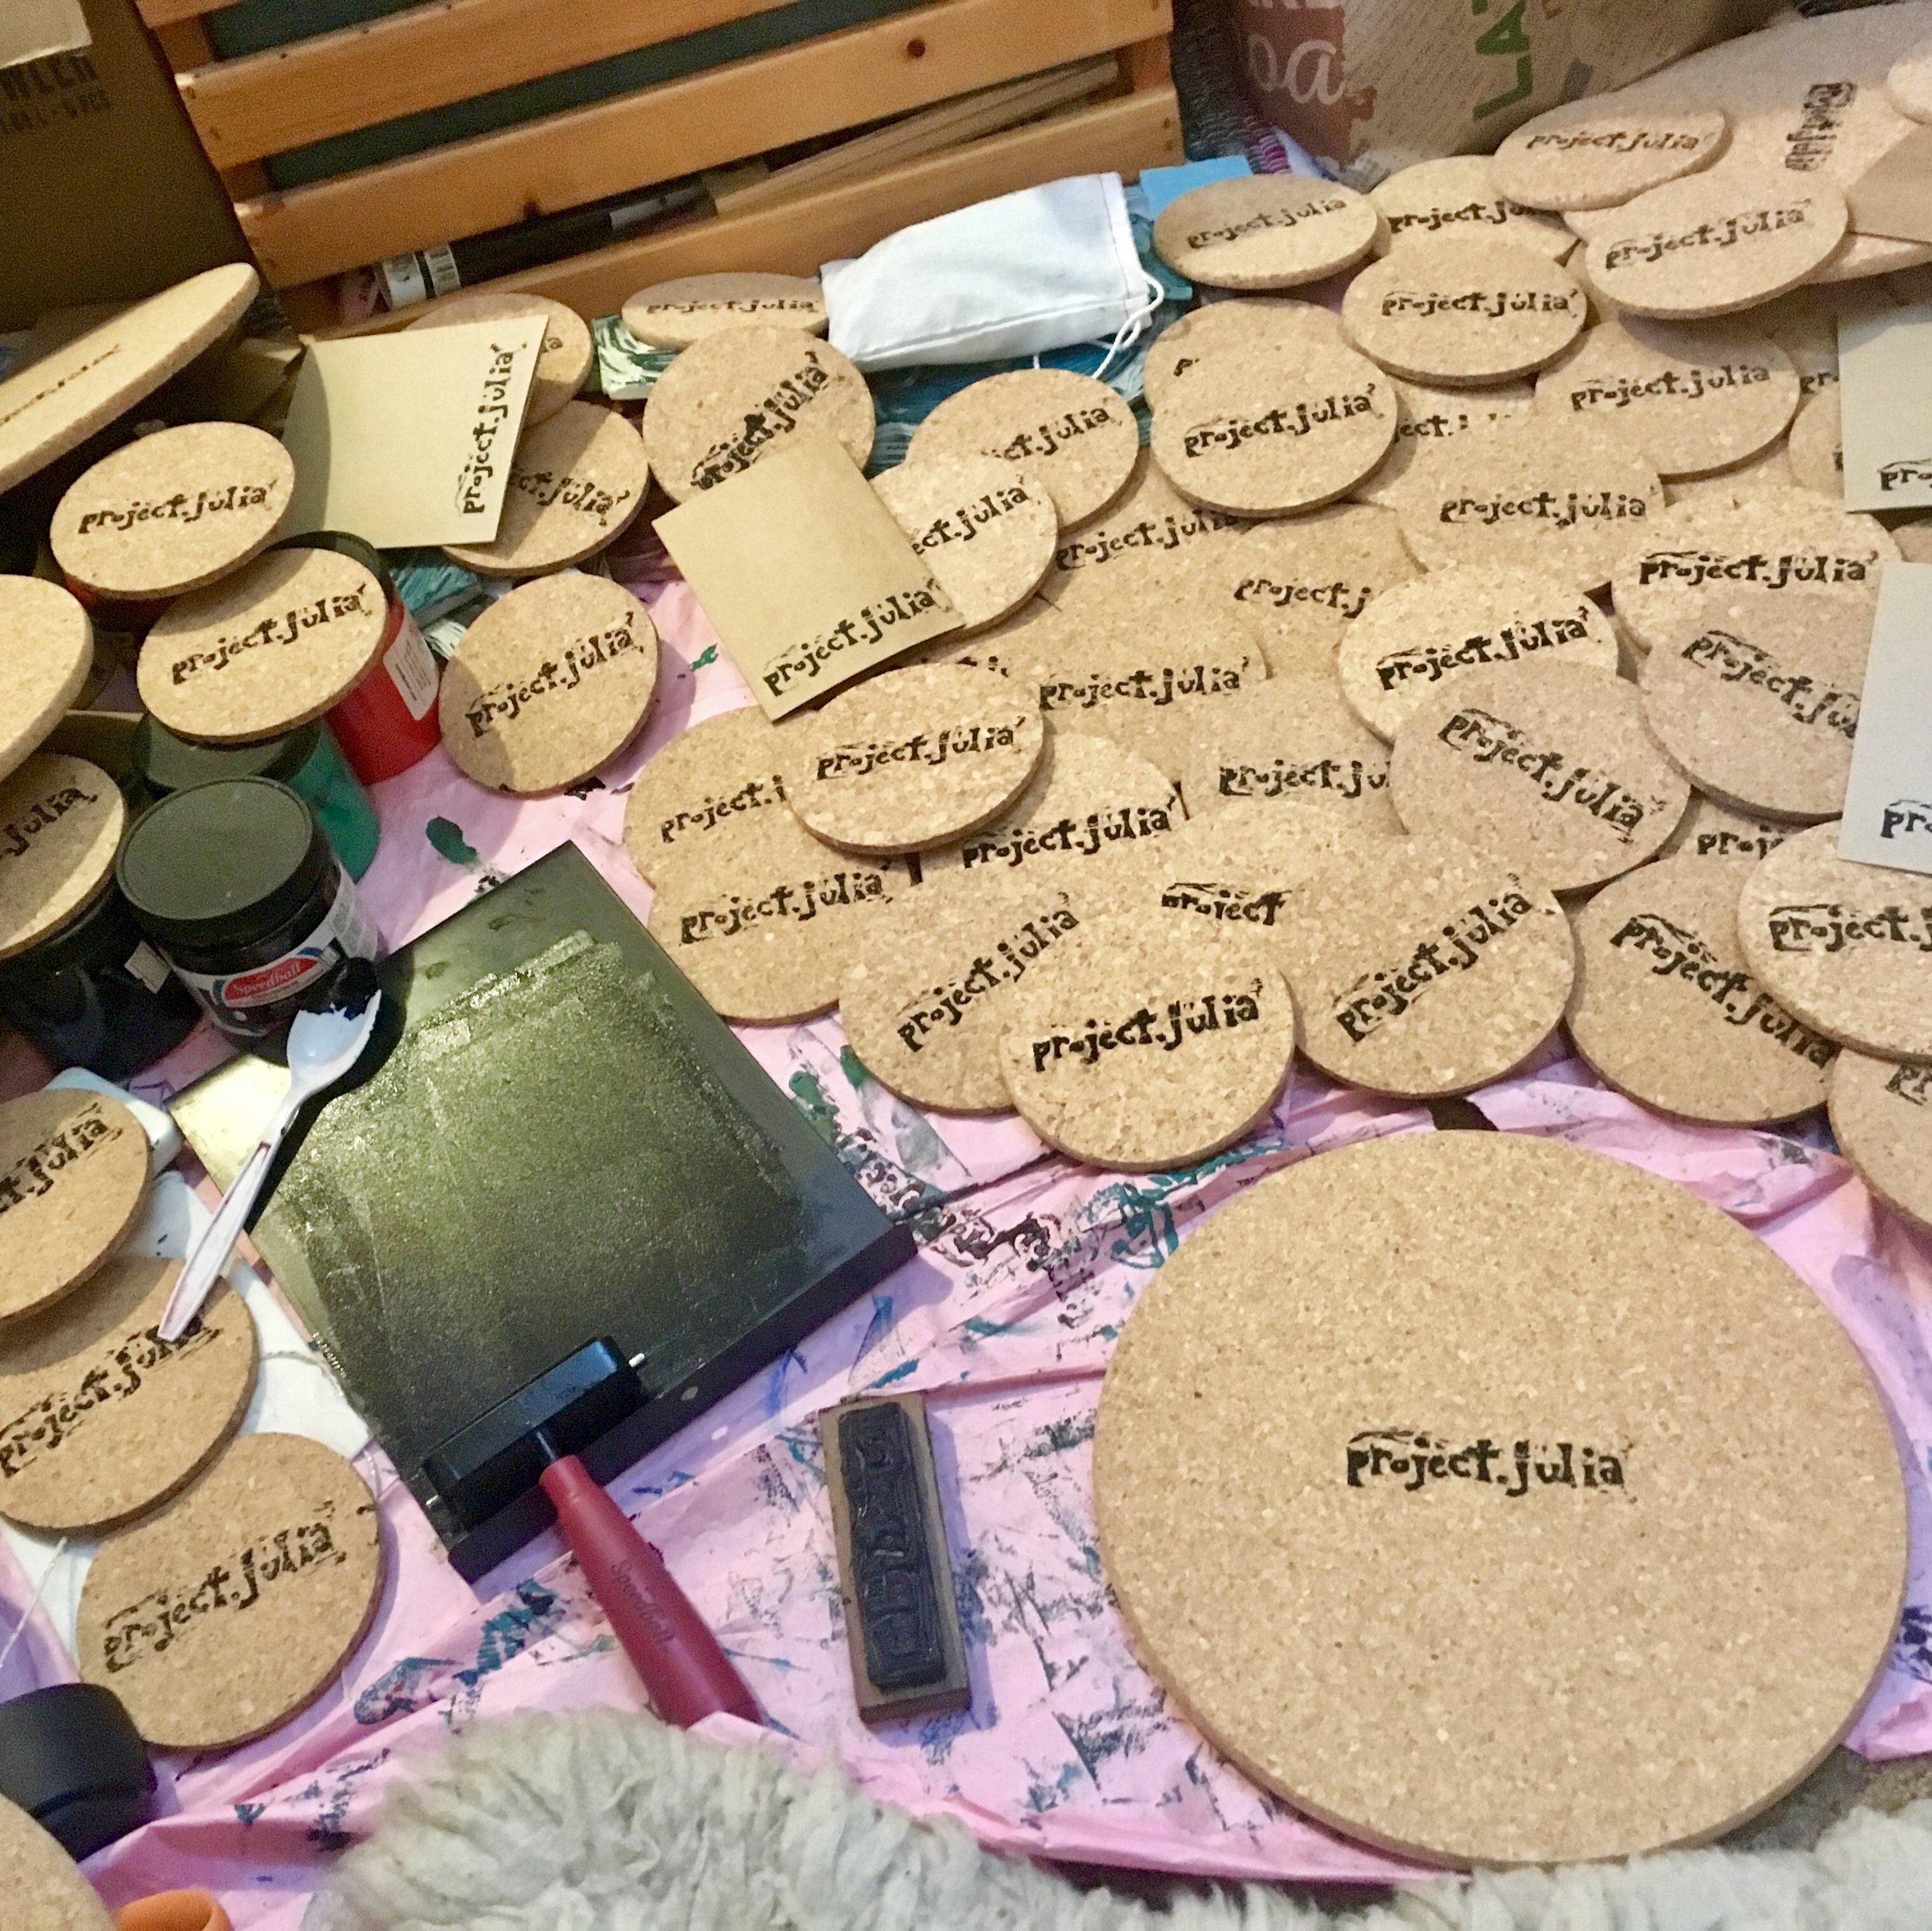
And print...
